Today one more tip from our column MM Answers!
Today's question:
How do you migrate your iCloud Photo Library to local storage or Google Photos?
If you don't have enough space to store your photos, you've certainly joined some of the current cloud services, like Google Photos or iCloud Photo Library.
There are online and offline options, all with specific pros, cons and needs we will show you the best options available. Just to avoid confusion, the part of the “cloud” that we talk about concerns servers maintained by some company, protected, encrypted and managed over a network connection.
You can access your cloud files stored through an application that is installed on your computer, iPad, or iPhone / iPod touch, which often works almost “hidden” on your device. If you, for example, have no internet connection, the next time your device connects the changes (photo sync) will be made and everything tends to continue to work fine.
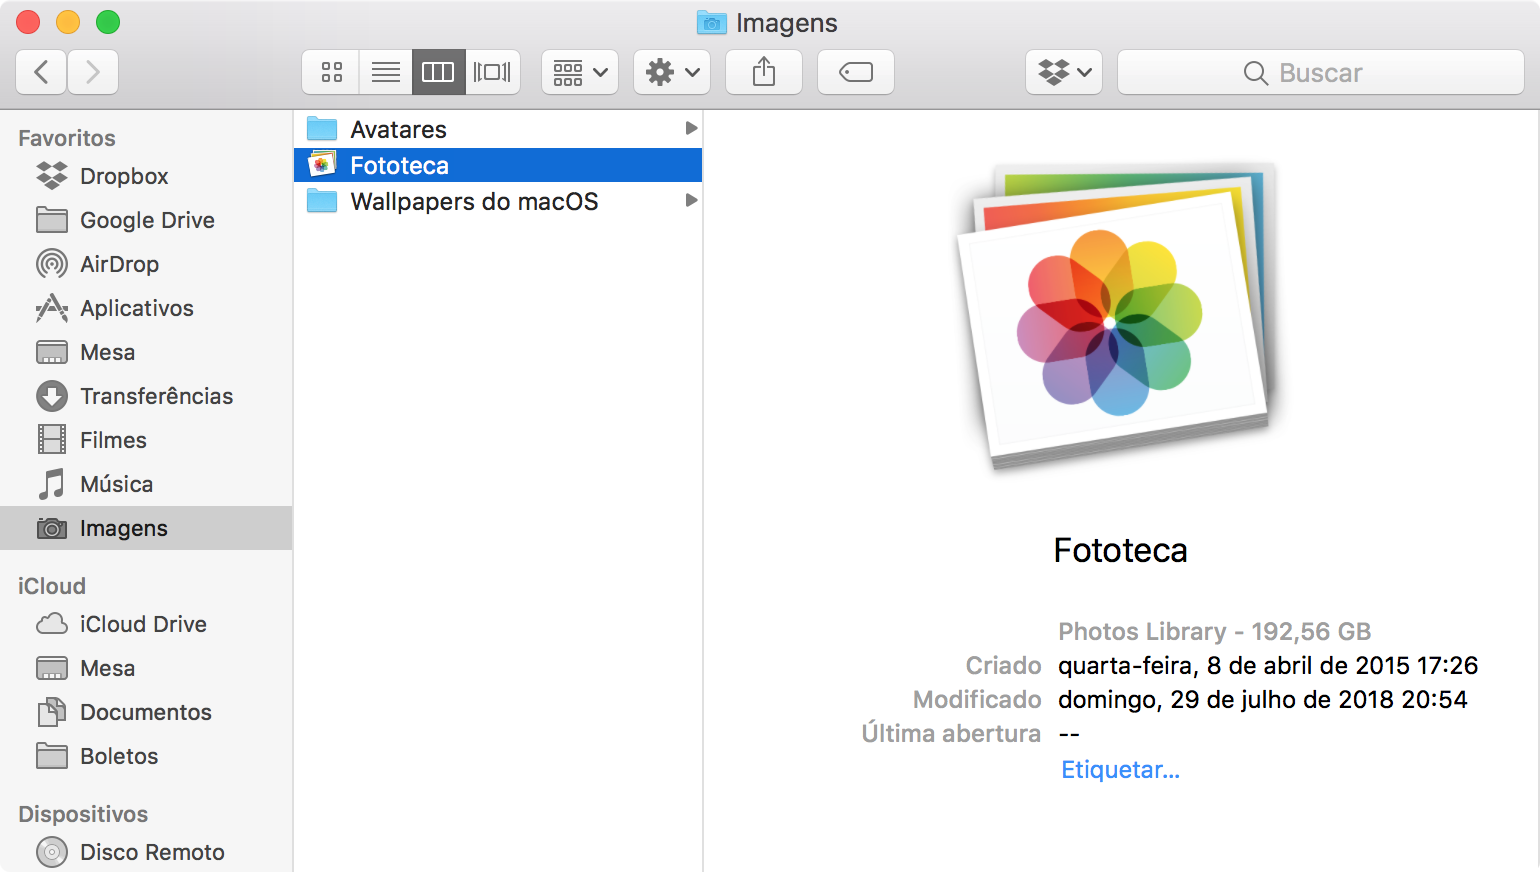
If your choice is to keep your photos only on your computer, one alert: make backups! Defect computers and their photos, regardless of the brand of HDD or SSD, are not worth the risk of having precious moments lost forever. For Mac users, there are two interesting options: Time Machine and / or a complete copy of the file called Photo Library (located in the Images folder).
<img data-attachment-id = "570827" data-permalink = "https://.uol.br/post/2016/03/14/tutorial-esta-achando-o-backup-do-time- machine-very-slow-know-how-to speed it up / 14-time-machine / "data-orig-file =" https://.uol/wp-content/uploads/2016/03/ 14-time-machine.jpg "data-orig-size =" 1833,1062 "data-comments-opened =" 1 "data-image-meta =" {"aperture": "0", "credit": "" , "camera": "", "caption": "", "created_timestamp": "0", "copyright": "", "focal_length": "0", "iso": "0", "shutter_speed": "0", "title": "", "orientation": "0"} "data-image-title =" Time Machine running on a MacBook Air "data-image-description ="
Official Image: http://www.apple/airport-time-capsule/
"data-medium-file =" https://.uol/wp-content/uploads/2016/03/14-time-machine-600×348.jpg "data-large-file =" https: / /.uol/wp-content/uploads/2016/03/14-time-machine-1260×730.jpg "src =" https://.uol/wp-content/uploads/ 2016/03/14-time-machine.jpg "alt =" Time Machine running on a MacBook Air "width =" 1833 "height =" 1062 "class =" aligncenter size-full wp-image-570827 "srcset =" https : //.uol/wp-content/uploads/2016/03/14-time-machine.jpg 1833w, https://.uol/wp-content/uploads/2016/ 03/14-time-machine-300×174.jpg 300w, https://.uol/wp-content/uploads/2016/03/14-time-machine-600×348.jpg 600w, https: // .uol/wp-content/uploads/2016/03/14-time-machine-1260×730.jpg 1260w "sizes =" (max-width: 1833px) 100vw, 1833px "/>
If you do not know the Time Machine, check out these articles.
Tip: If you keep your photo library on an external drive, don't just leave them on it. Have * always * a backup!
If, like me, you have decided to use a cloud service, we may sometimes decide to switch providers (as I did from Google Photos to iCloud Photo Library). But let's ask the day, then.
Downloading Your Photo Library
If you have a lot of photos / videos, you will need an external storage device to download your original photo library. Remember that often the option you choose optimizes the internal storage and keeps only a small version locally for that, so choose an external drive not too much. old, after all, to capture the moments again, just being friends with Marty McFly and with the help of Professor Doc Brown.
Quit Photos, plug in your external disk that receives the copy, and drag the "Photo Library" file onto it. Depending on the size of your library and the speed of your external disk, the procedure may take a few minutes (or even hours).
The “System Library” is your main photo library and synchronized with iCloud. Because it is the primary, Photo Sharing photos are downloaded directly to it, and iCloud Photo Library photos are displayed, optimized normally.
If you only have one photo library, this is the System Library. Otherwise, the first photo library you create or open in Photos will be the System Photo Library. If you have more than one library, you may need to designate a System Library so that other apps can access the photos and videos you want to use.
- Open Photos in your new main photo library;
- Comes Photos Preferences and select the "General" tab;

- Click on the "Use as System Library" button.
Once you've set the location of the photo library, let's change the iCloud photo storage option:
- Open Photos in your new main photo library;
- Comes Photos Preferences and select the tab “iCloud”;
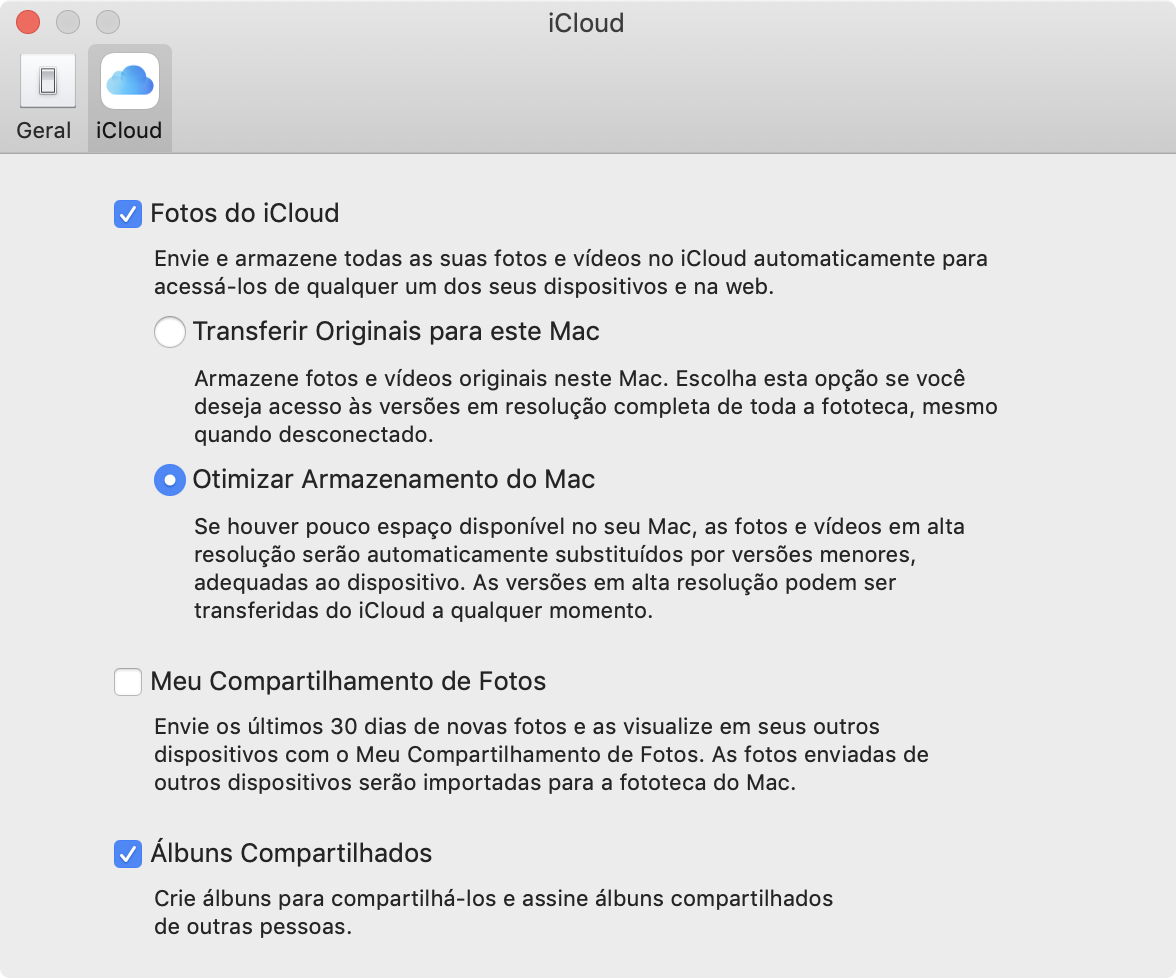
- Select the "Download Originals to this Mac" check box.
Wait for your photos to download, and when done, keep them in place or choose the new location for your photos. If you have plenty of space on your Mac, you can work with the original files in your Photo Library. If there are no network problems and your space is reduced, by far the best option is to optimize storage.
· • ·
If you sought no answer MM Frum and did not find or if you simply have any suggestions for the MM Answers (we will select one at a time), s send me an email (marcelo at sign our domain) or talk to me on Twitter (@marcelodemelo).
See you next time! 😊
