Keeping with the tradition of peeking into the bowels of Apple's new releases, the repair firm iFixit already put his hands on the new notebooks launched by Ma on Tuesday (10/22) and tried to dismantle them.
She had already done the same with the past generations of these models (13 ″ and 15 ″), so we will bring you only the most significant changes of these beautiful machines.
MacBook Pro with 13-inch Retina display
The 13-inch machine is identified by the model A1502.
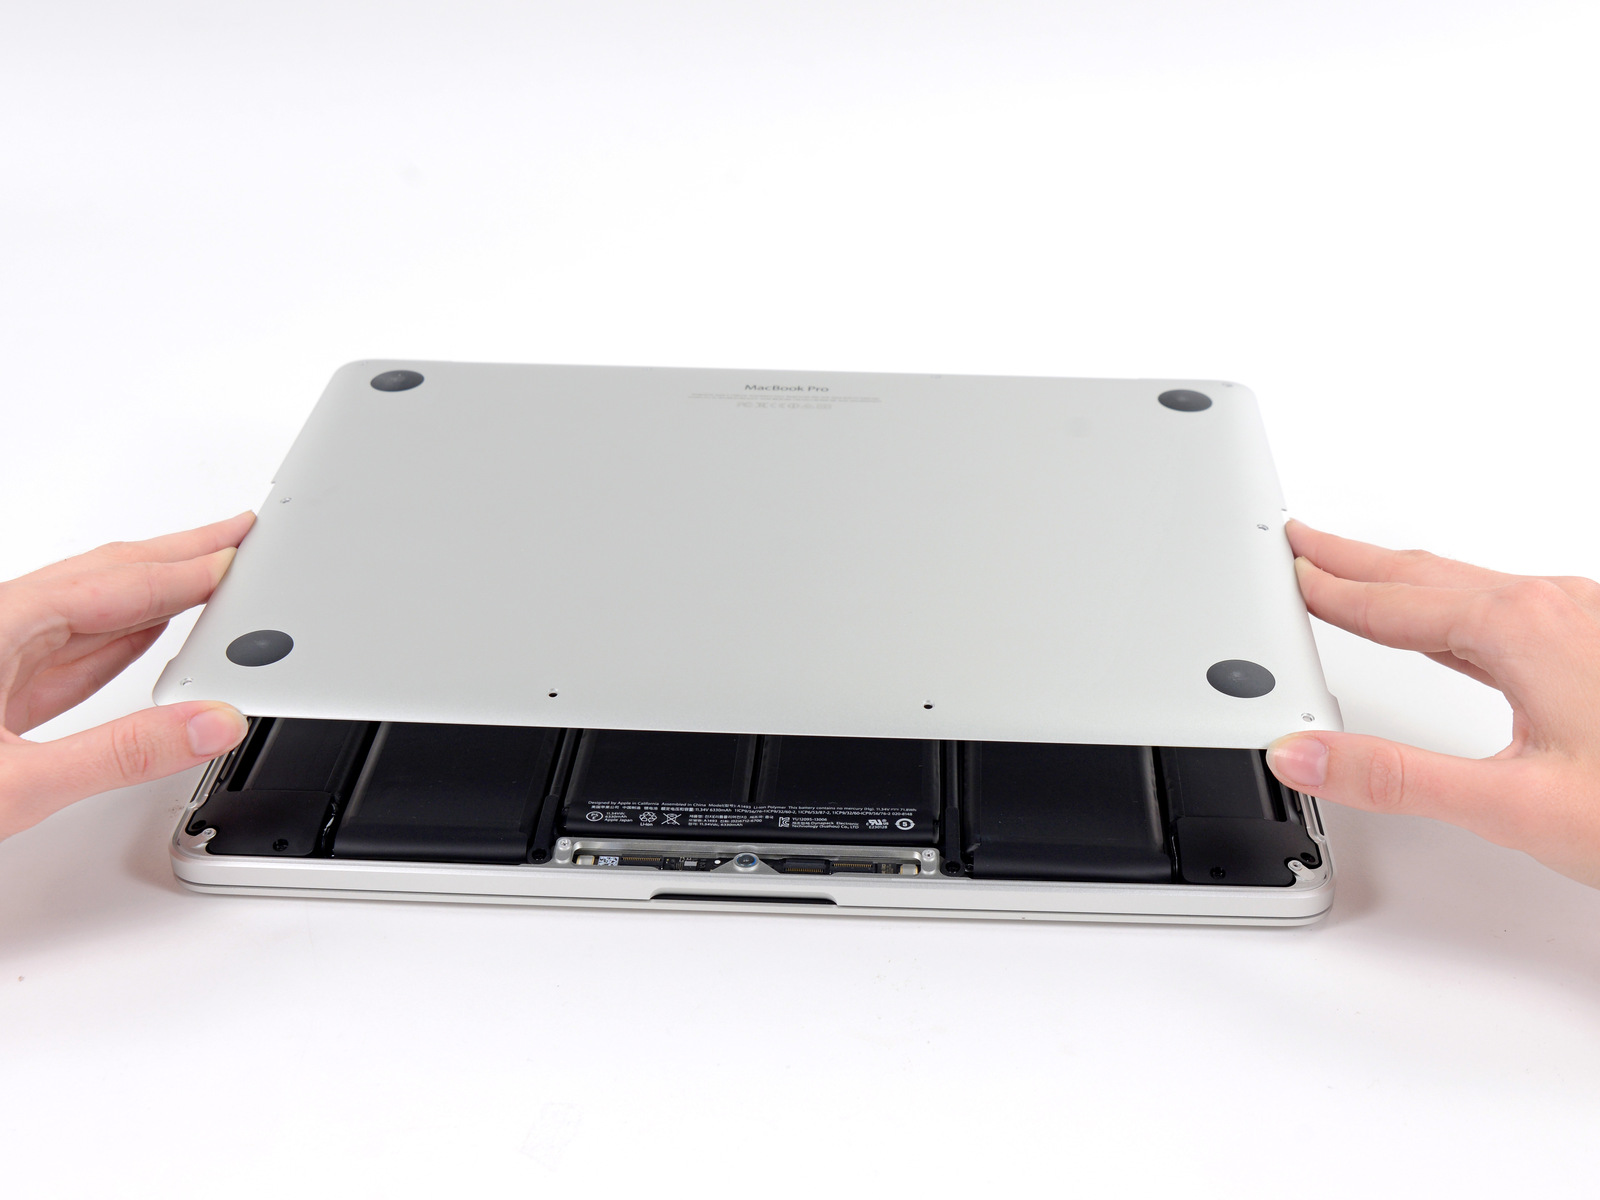
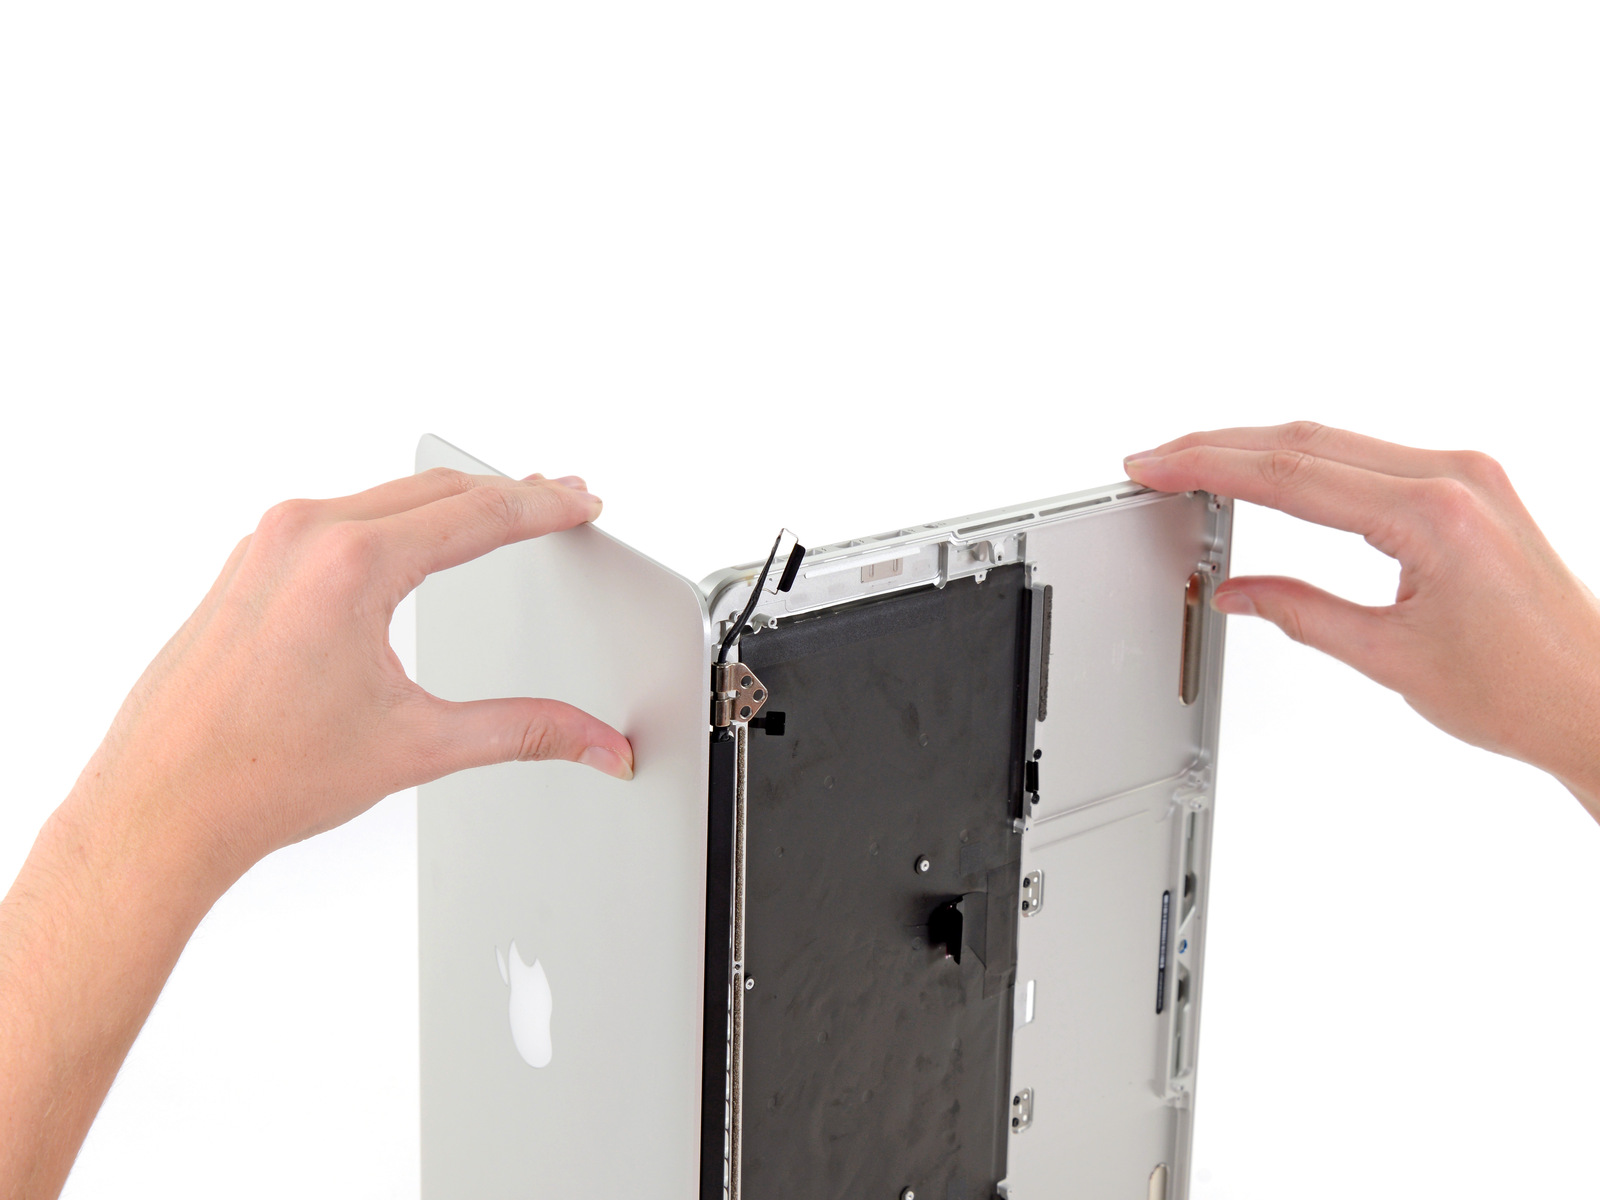
As always, its housing closed with screws pentalobe, which make things very difficult.
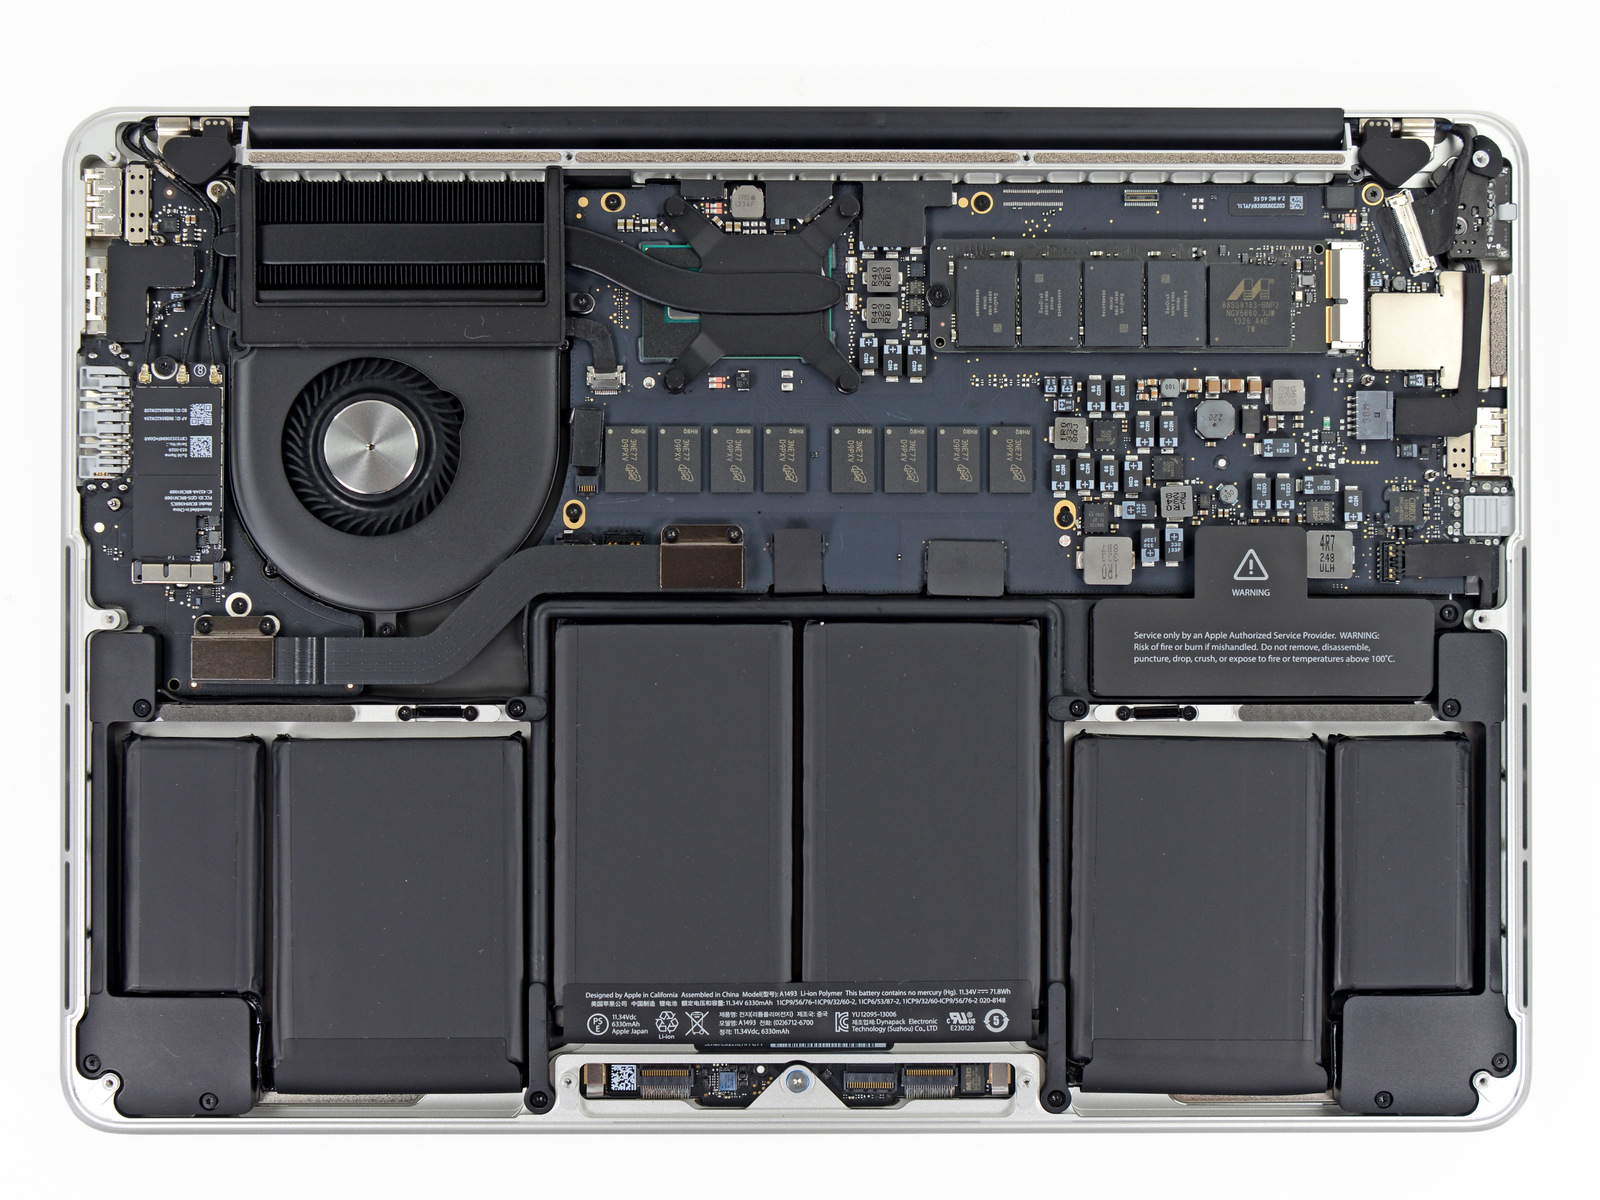
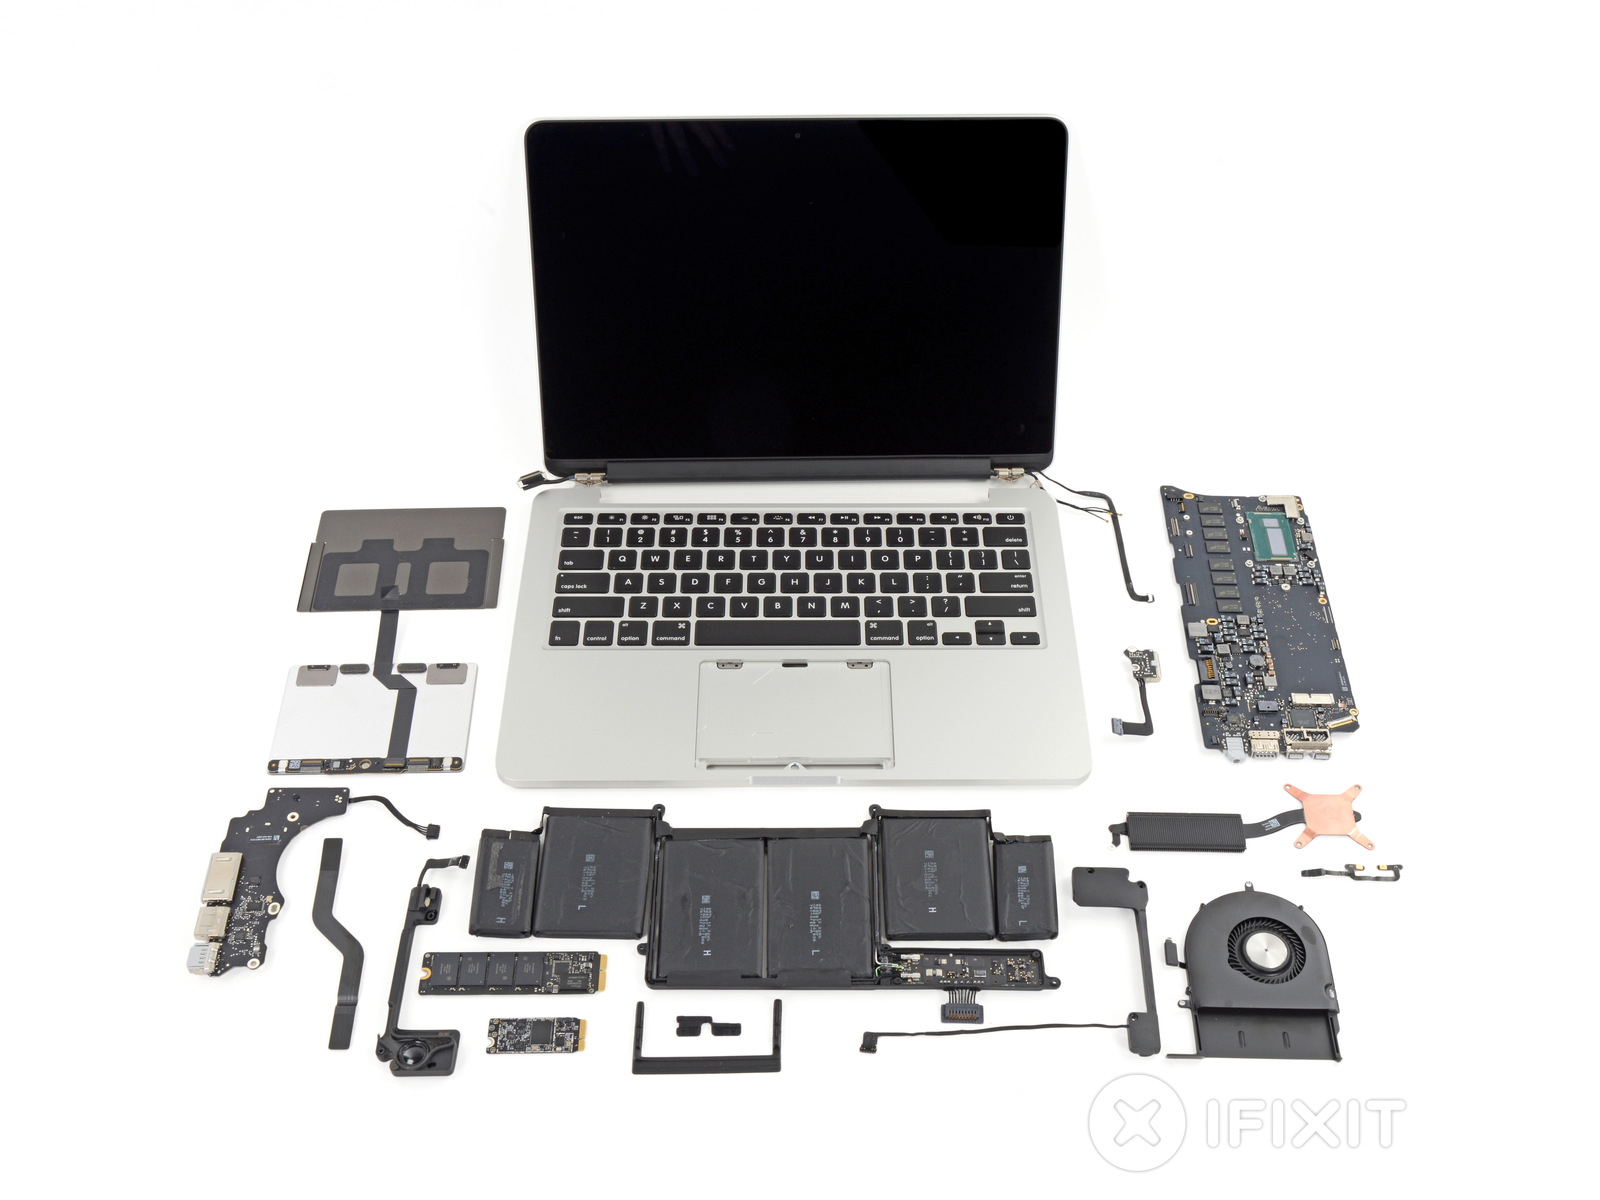
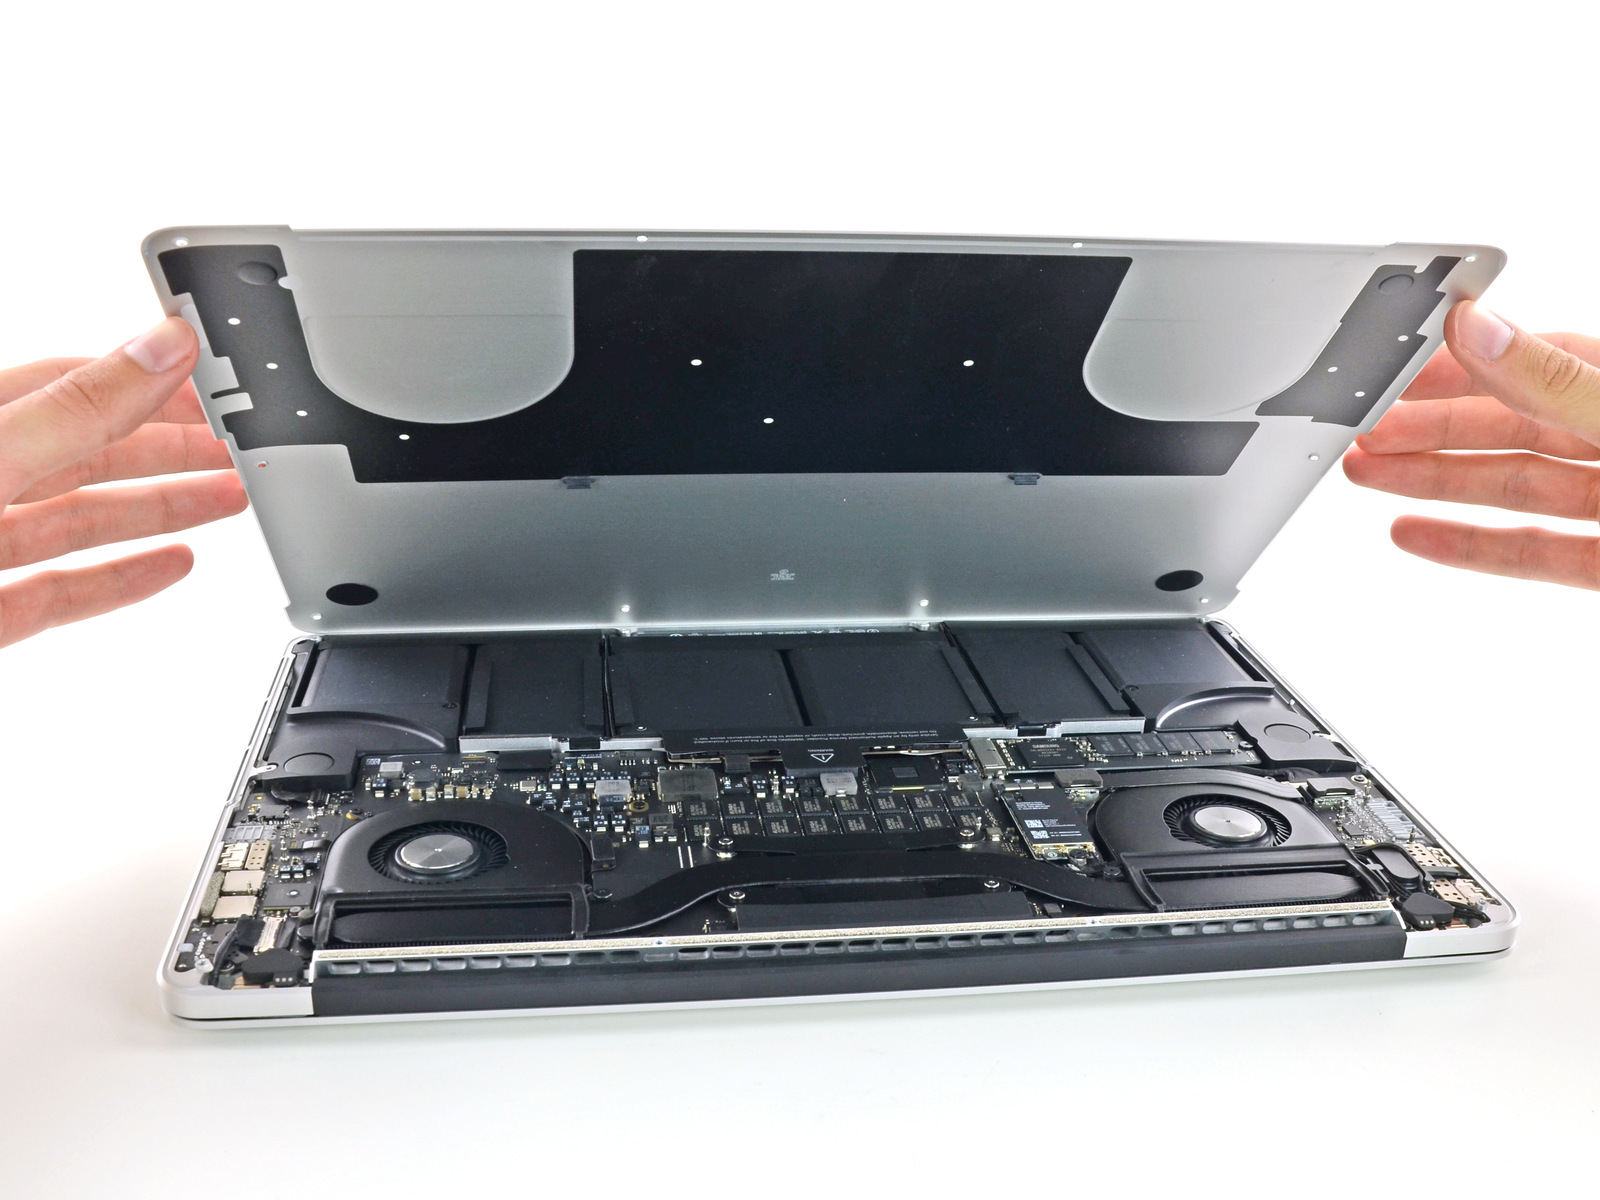
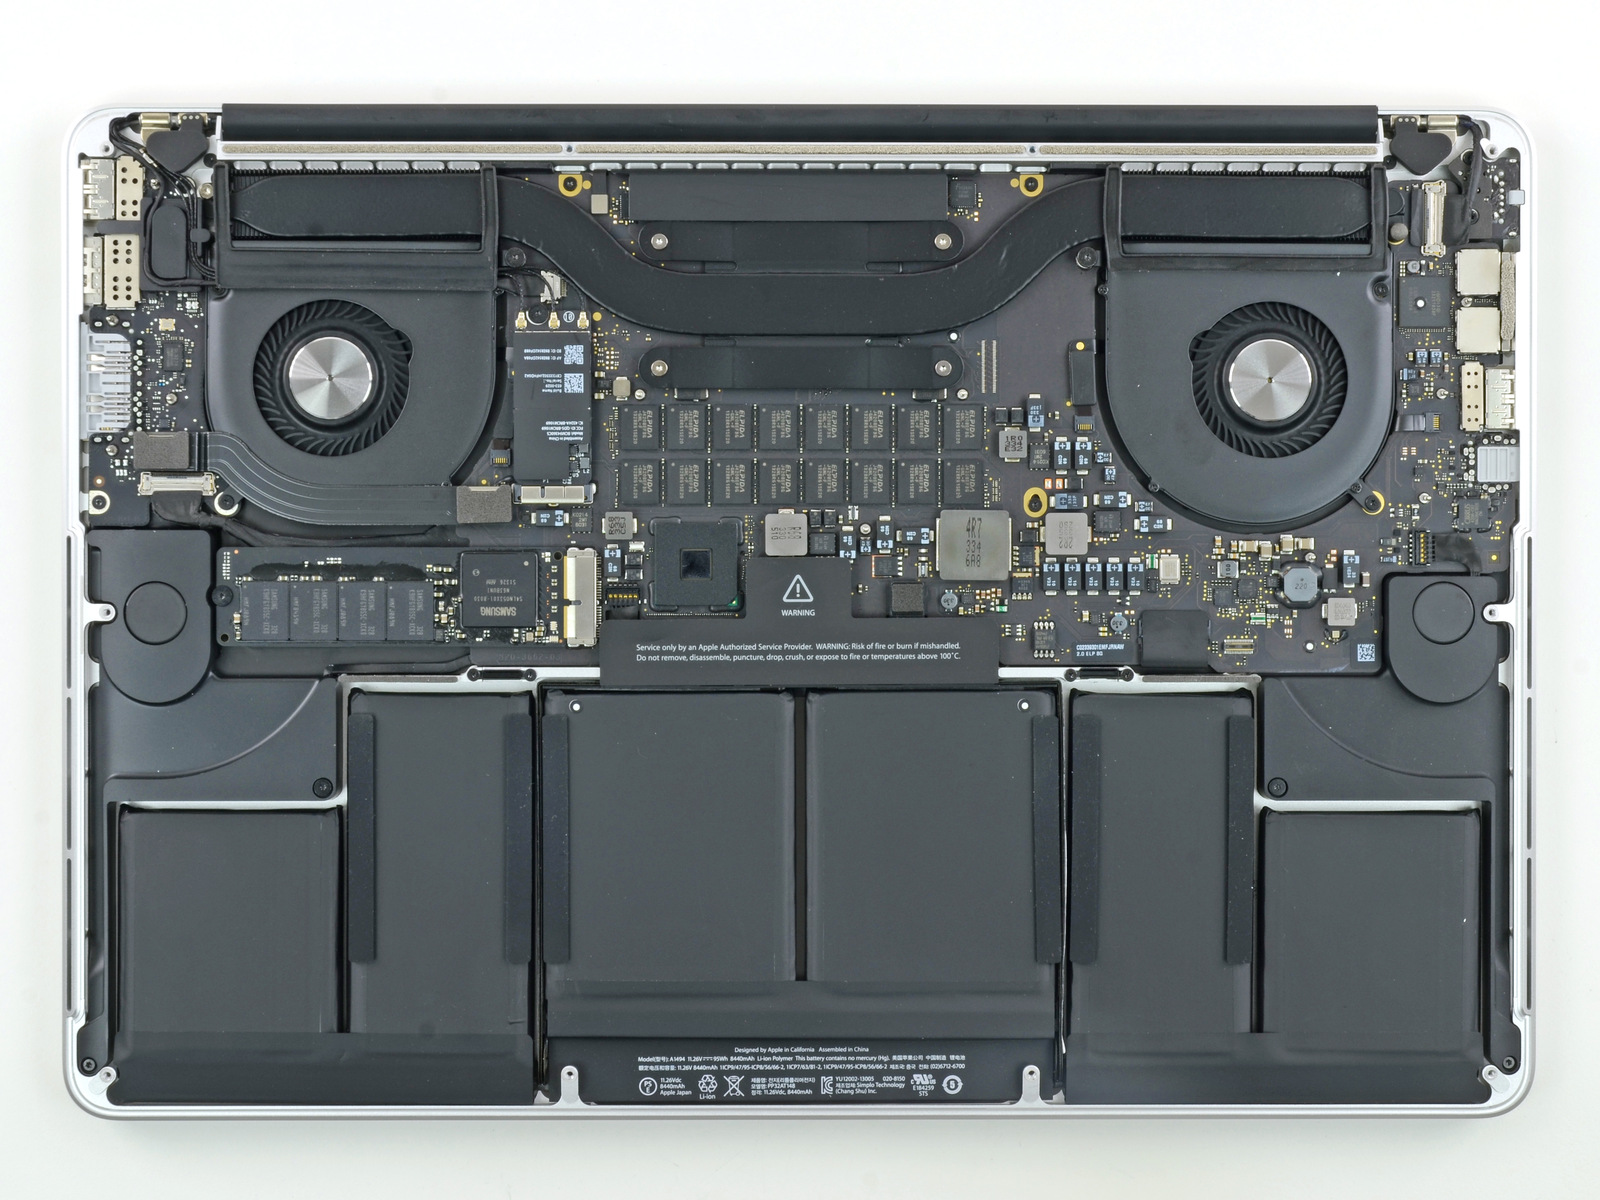
Upon opening, the first big change: instead of two, the new model has only one fan (for cooling the machine). In addition, the cables have been reorganized, the SSD (solid-state drive, or solid state unit) is displaced and the battery also occupies the space of the trackpad.
The AirPort card remains in the same place as before, but now we are talking about a Broadcom BCM94360CS, with support for the new IEEE 802.11ac protocol (three times faster than 802.11n).
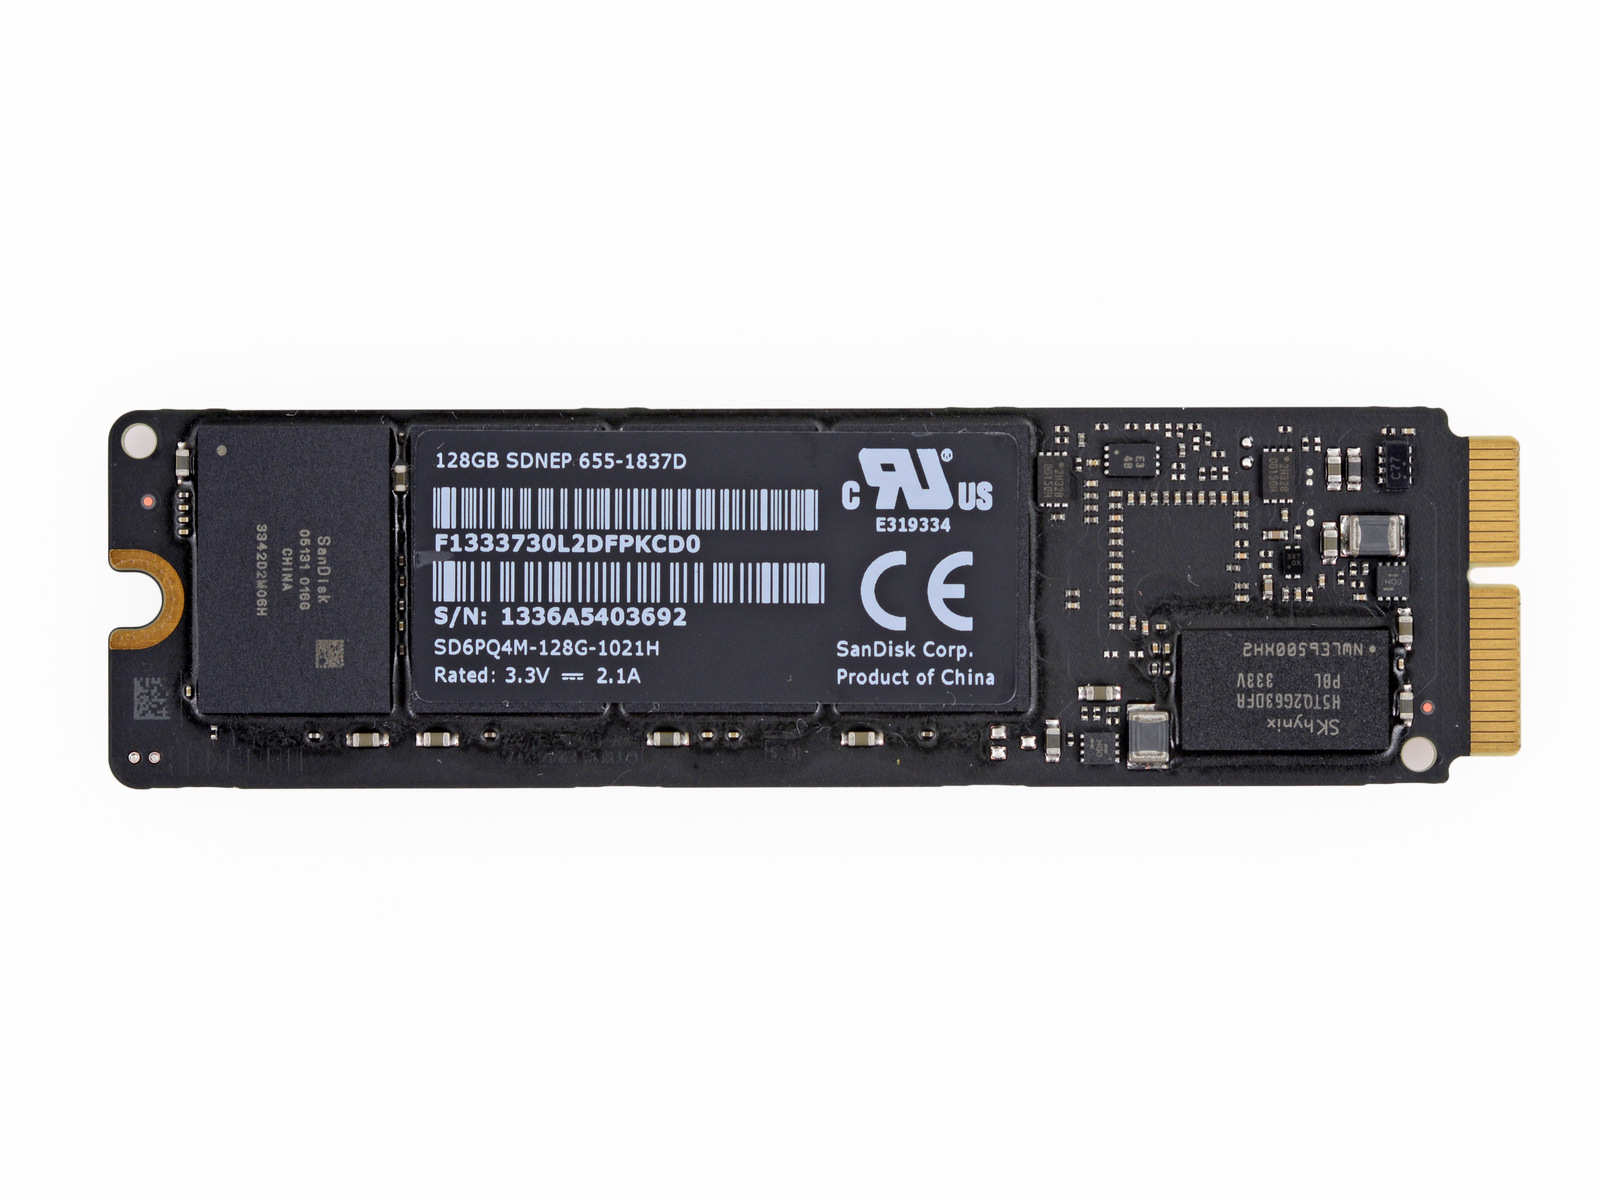
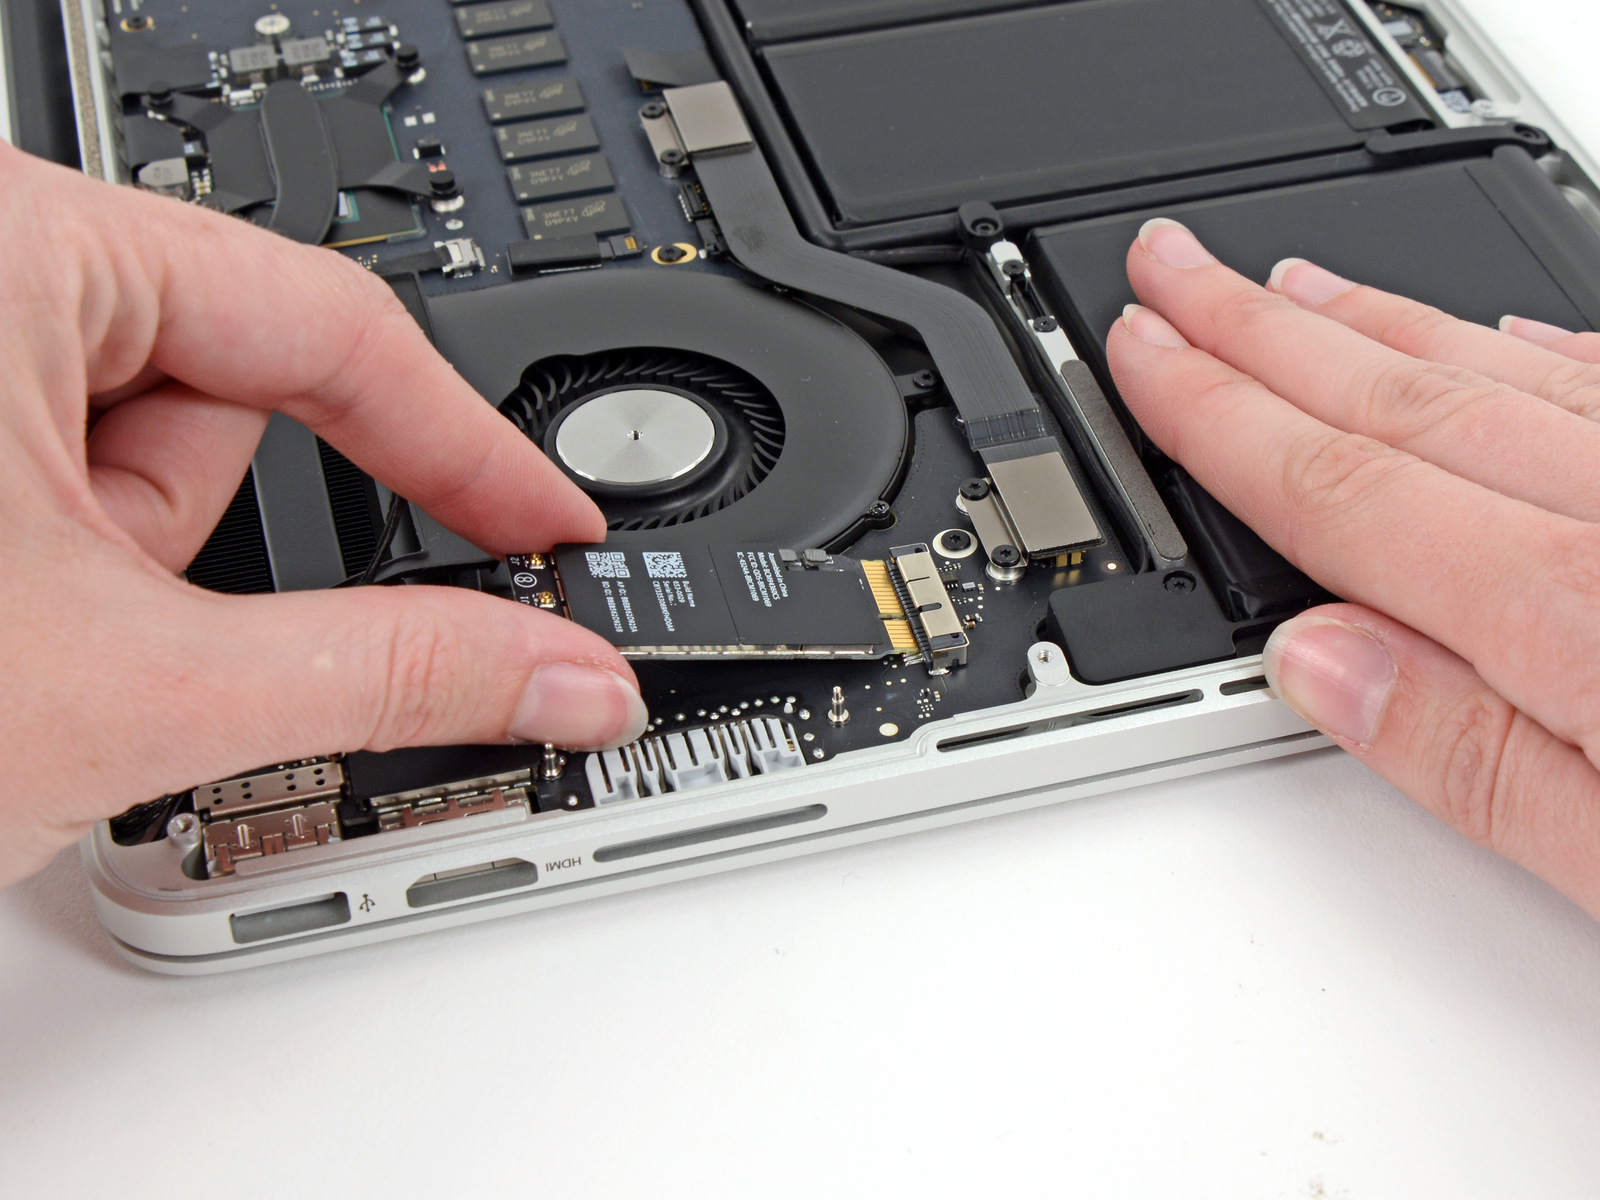
When dismantling the previous generation, the SSDs were from Samsung; this time (at least on this machine), the manufacturer is SanDisk (6 NAND Flash 05131 016G of 16GB, totaling 128GB of storage capacity). In addition, we have a Marvell Semiconductor SSD controller (88SS9183) and SK Hynix DDR3L SDRAM (H5TQ2G63DFR).
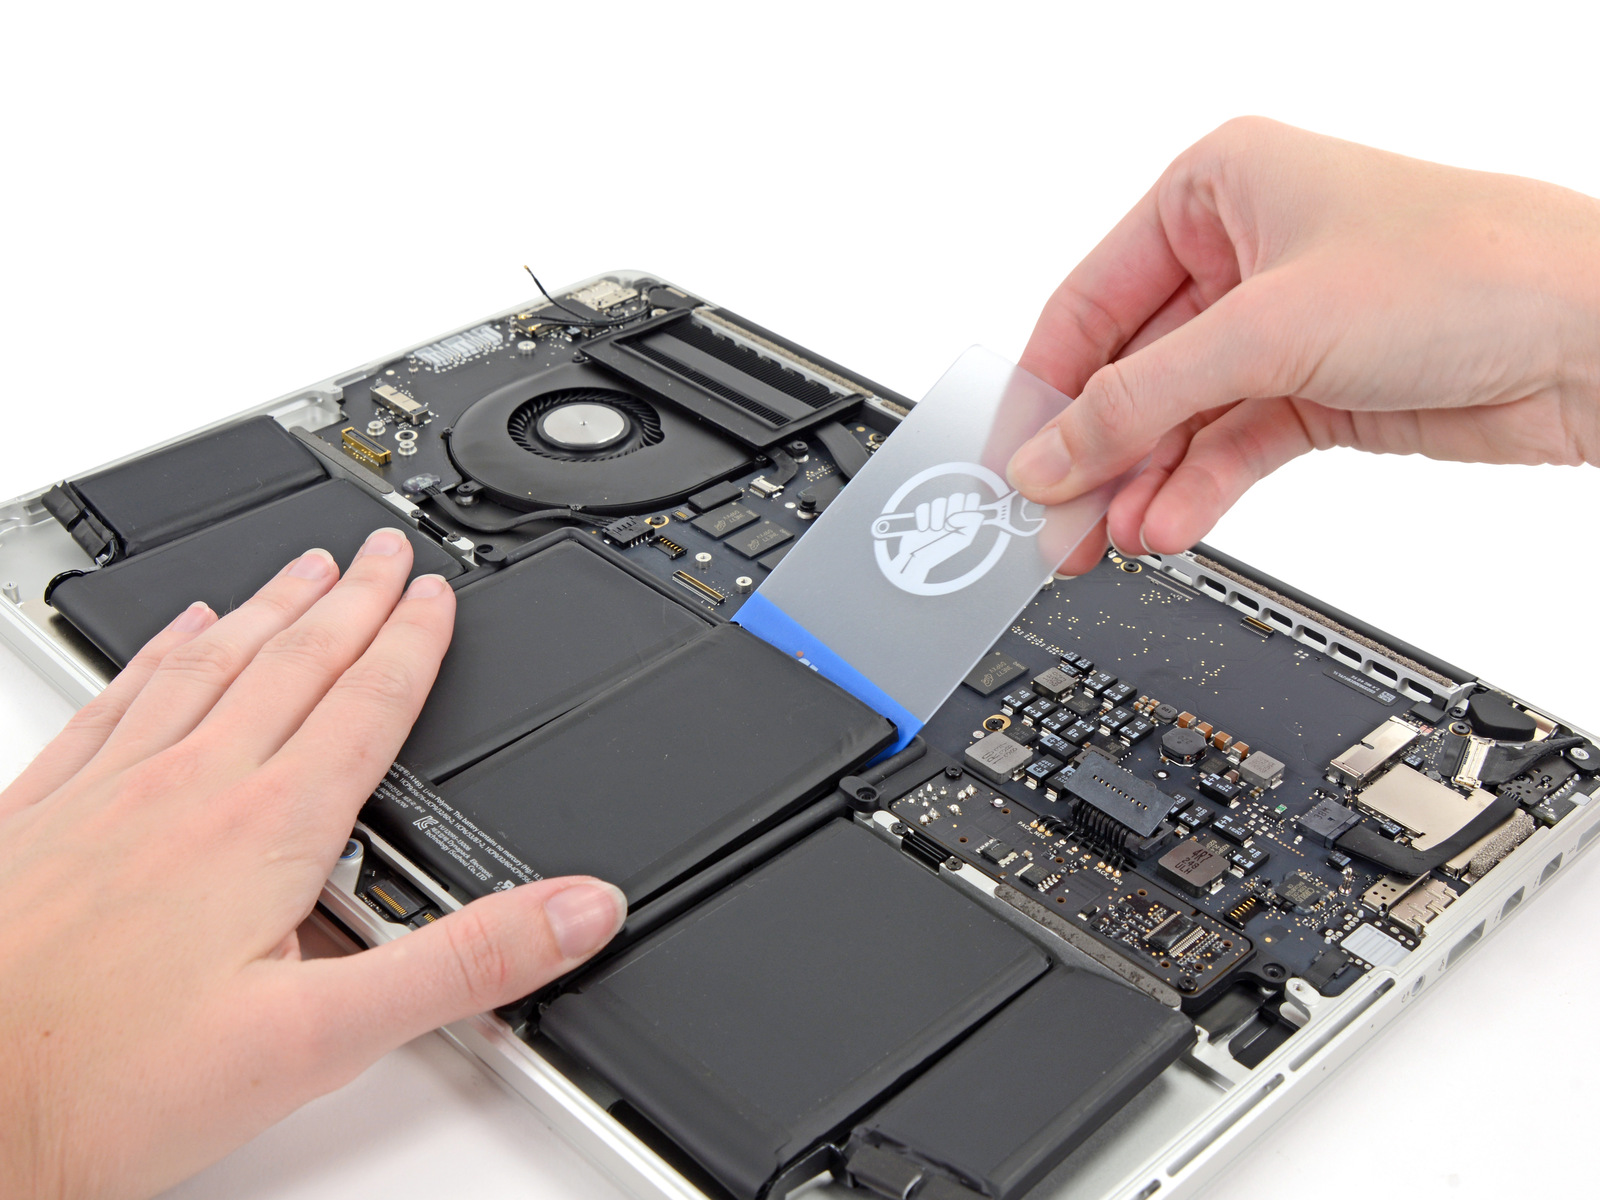
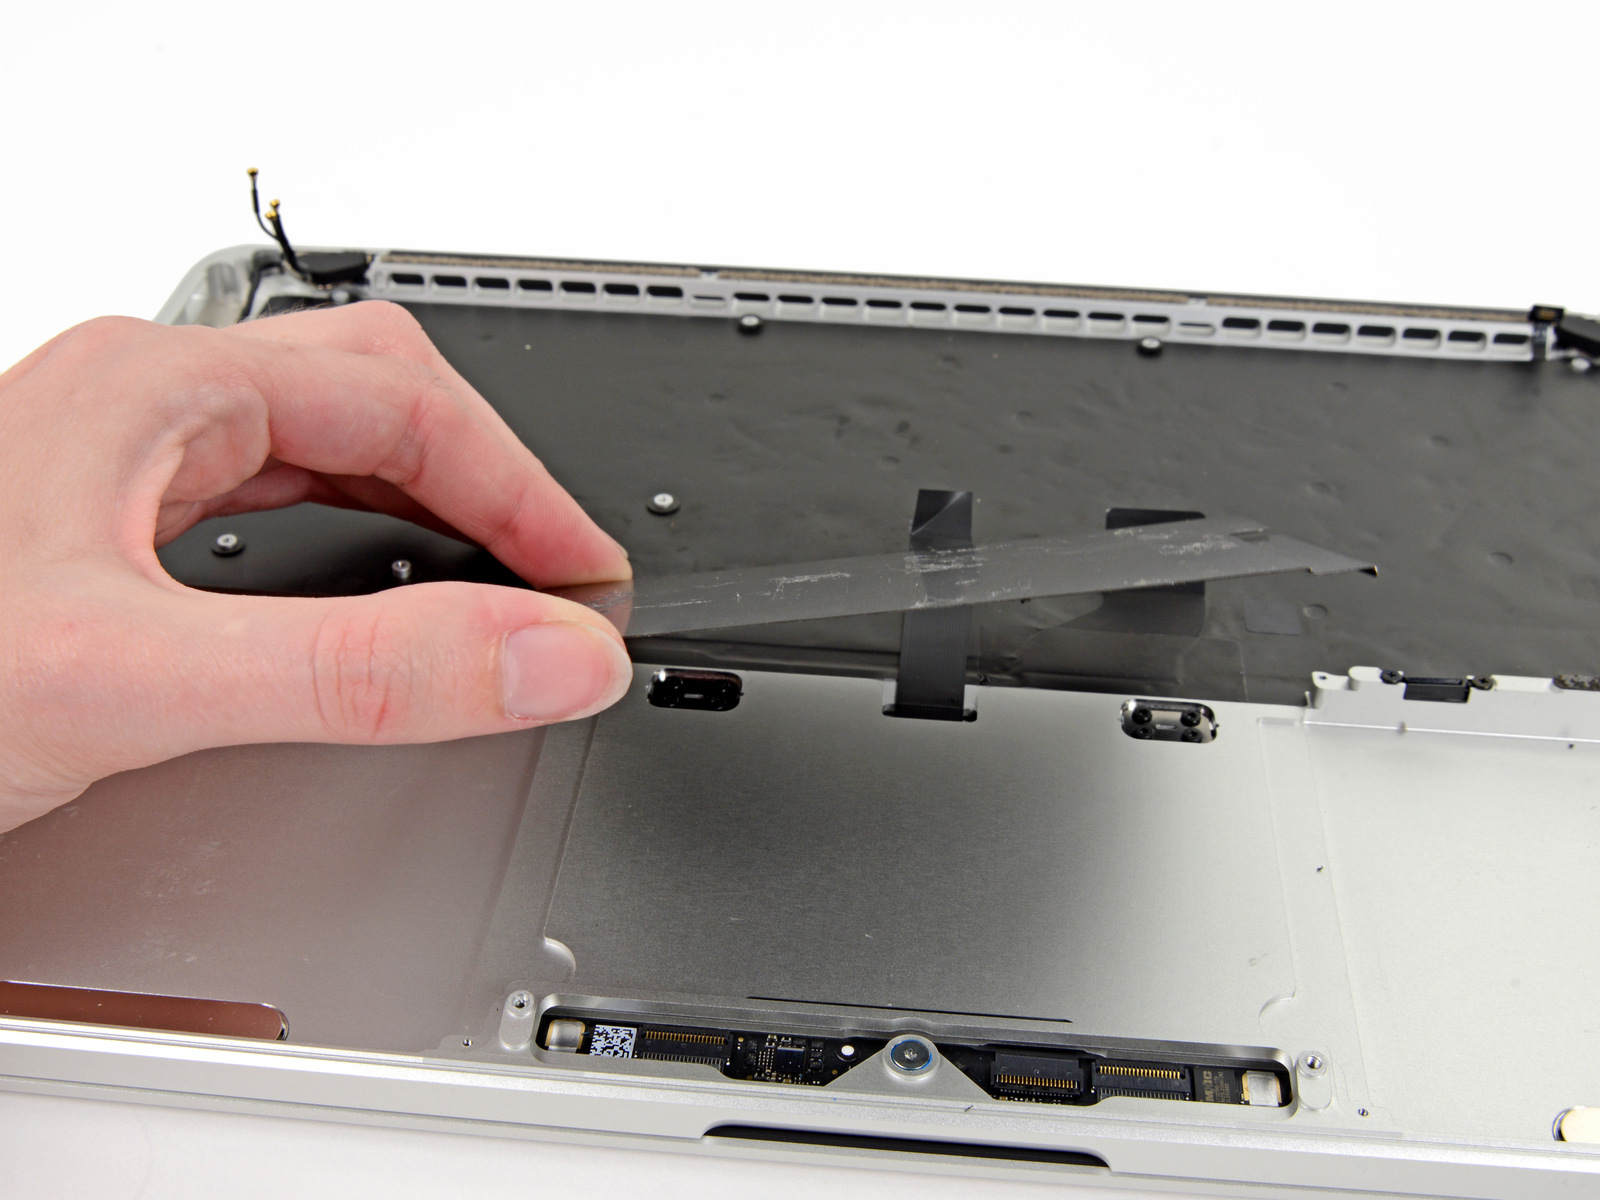
As we saw above, the battery (71.8Wh; 11.34V) occupies half the interior of the machine and completely invaded the space previously dedicated to the trackpad. For this reason, it became even more difficult to remove it, in fact, the most difficult until today due to the structure around it and the large amount of adhesive used.
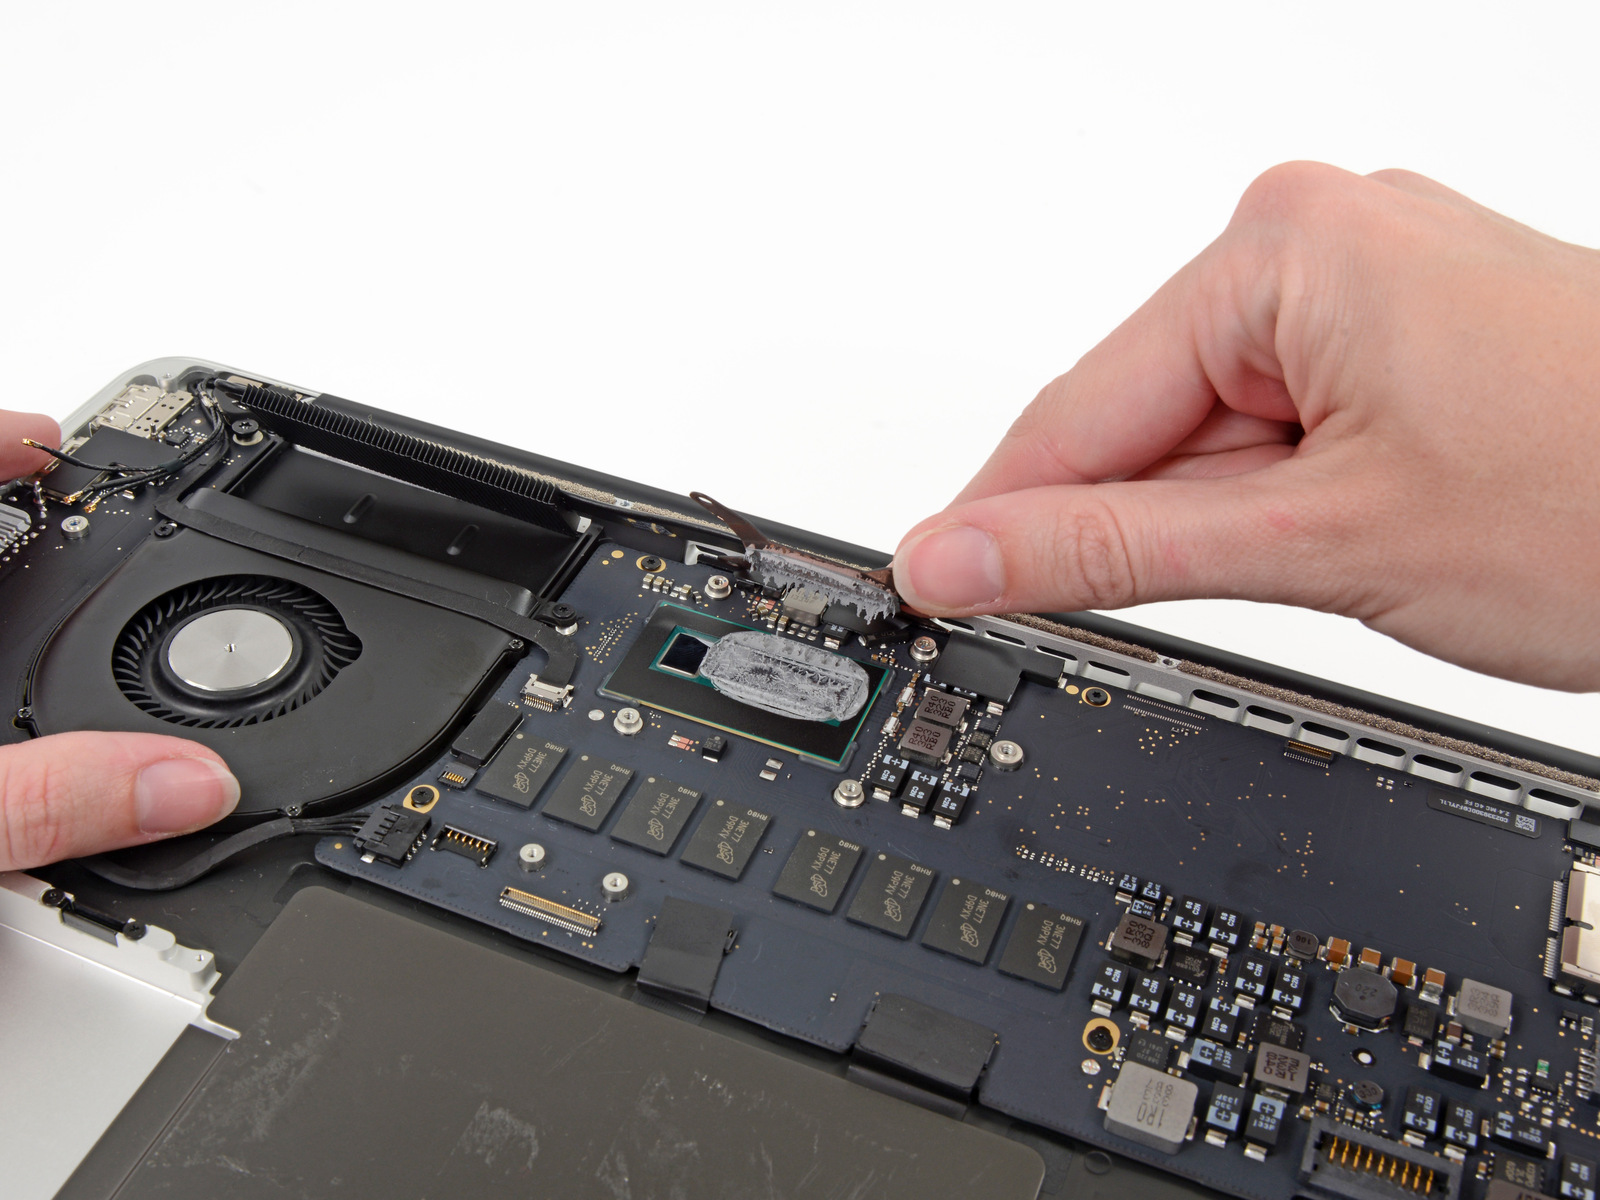
Below the heatsink iFixit found a thermal paste to improve protection. They say that, since Apple is using the new “Haswell” processors and the Iris graphics (both from Intel), we are seeing a great consolidation of the heatsink since the CPU (central processing unit, or central processing unit) and GPU (graphics processing unit, or graphic processing unit) are increasingly closer and share space in the heat sink, contributing to a more clean and efficient.
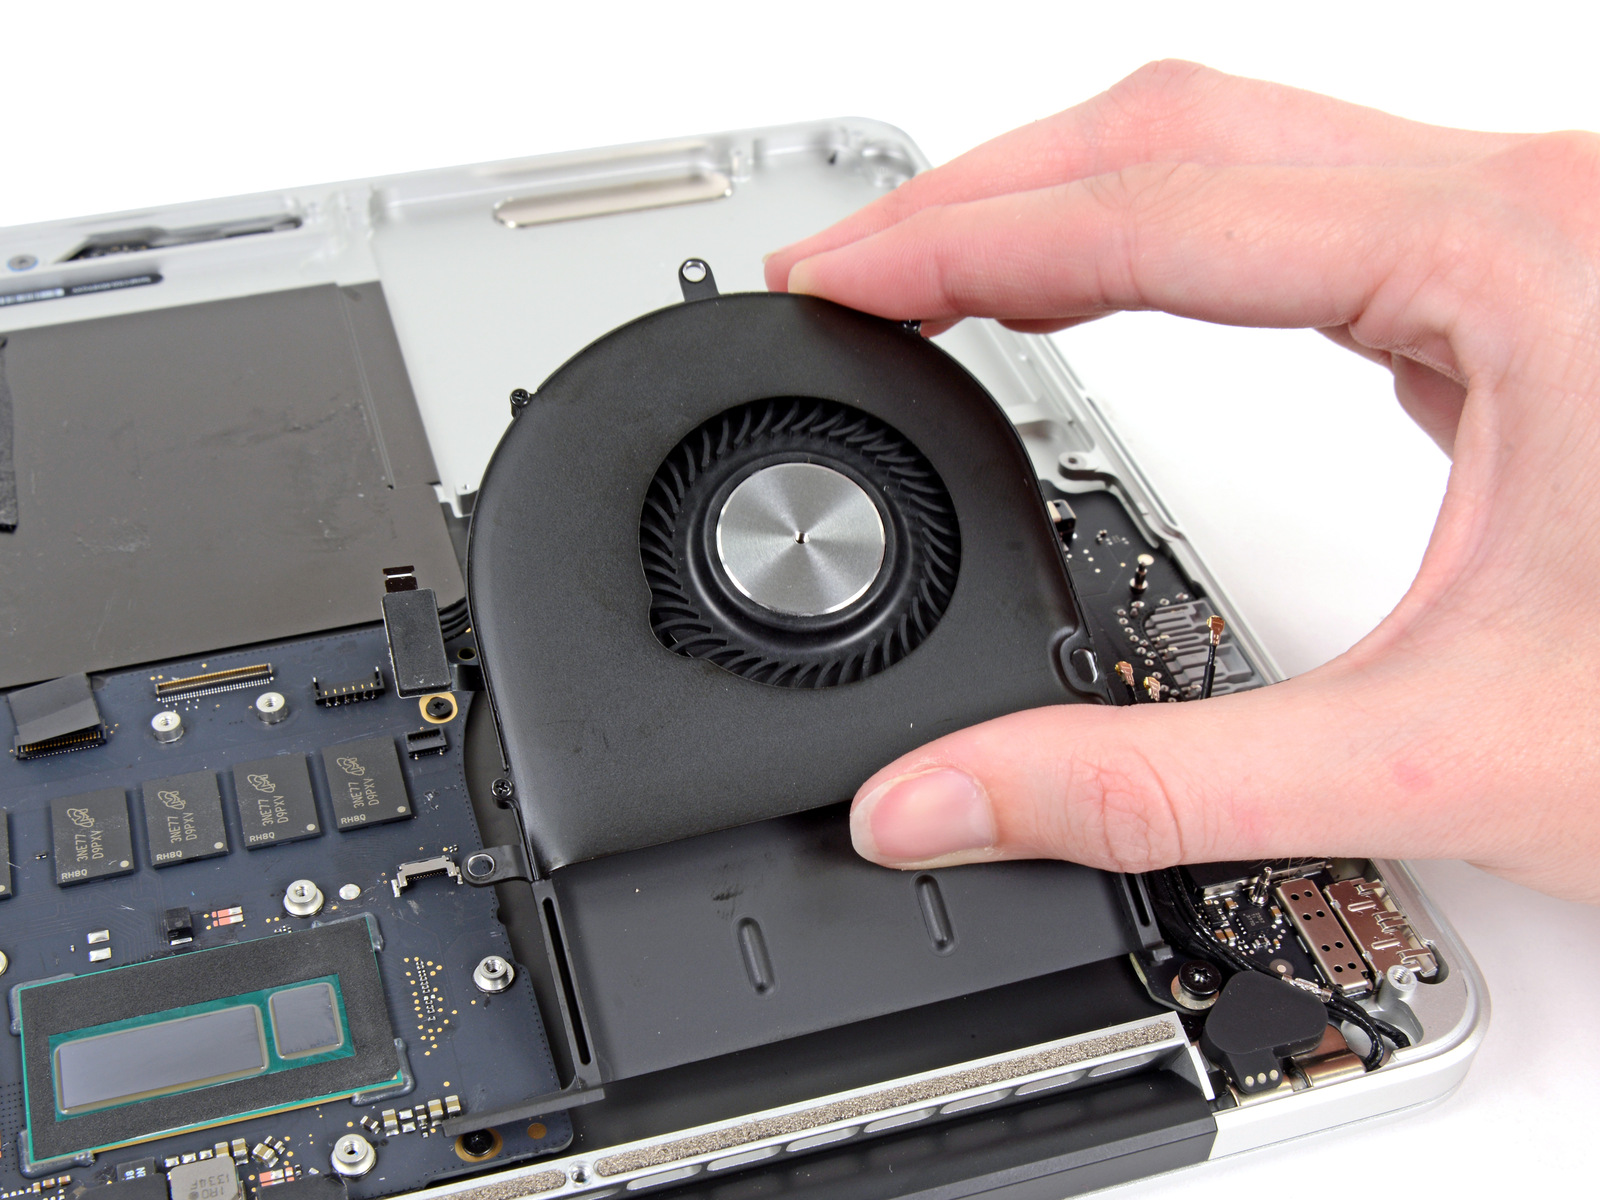
Here, the fan (daughter only) in detail.
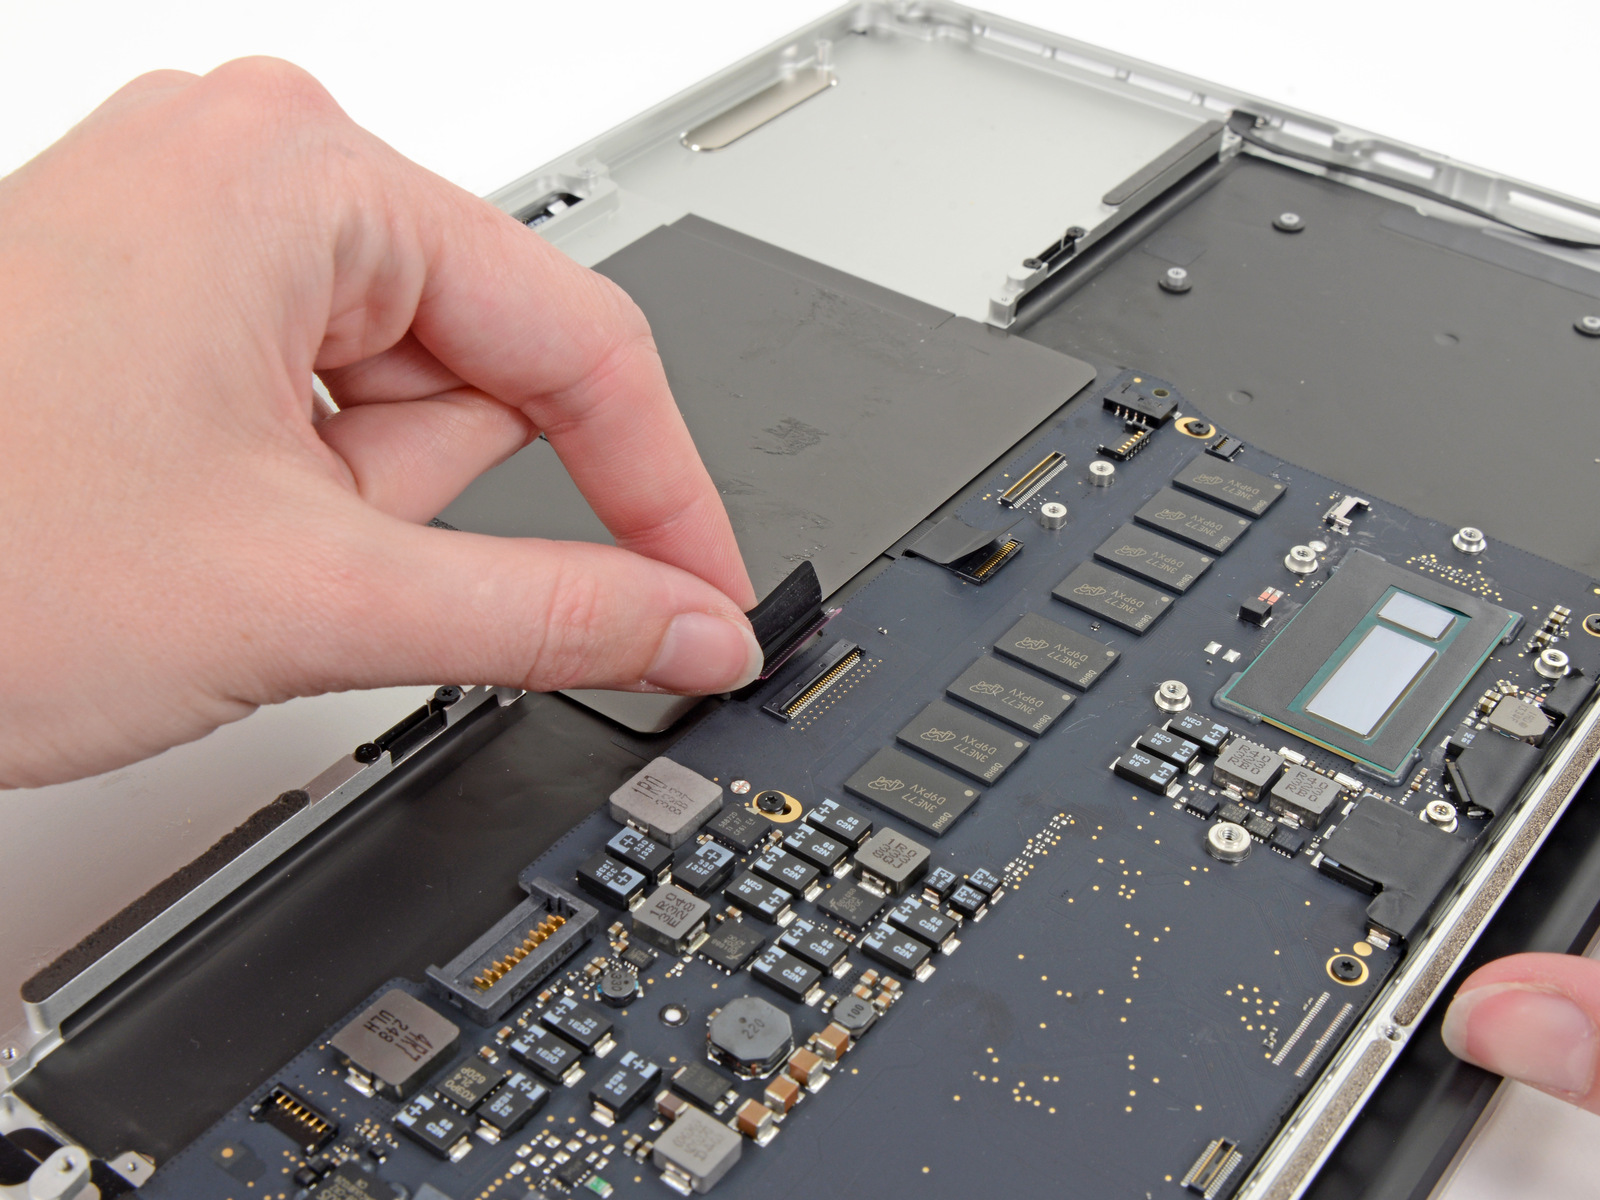
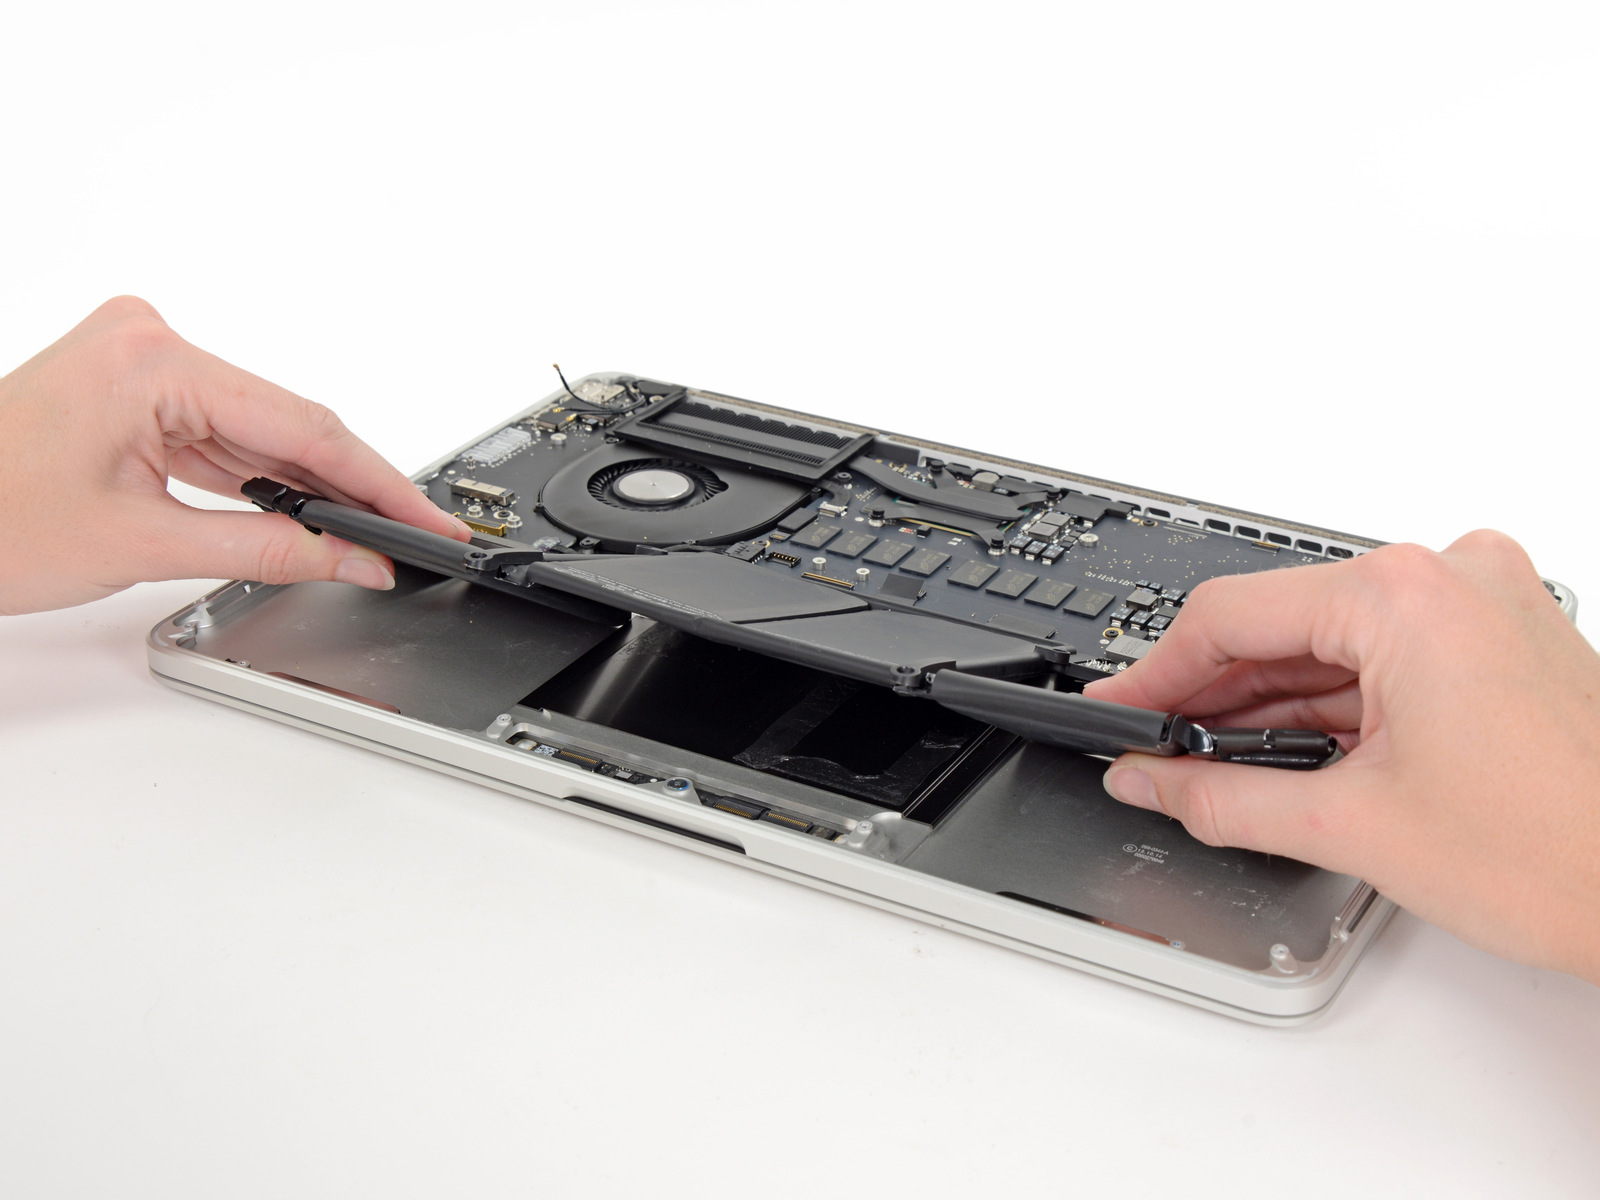
Here is the logic board being removed, with a Core i5 (4258U) processor; 8 Micron DDR3L SDRAM (D9PXV) 4Gb (512MB), totaling 4GB; codec low energy HD audio with two channels from Cirrus (4208-CRZ); Intel controller (DSL5520) for Thunderbolt 2 ports; Among other things.
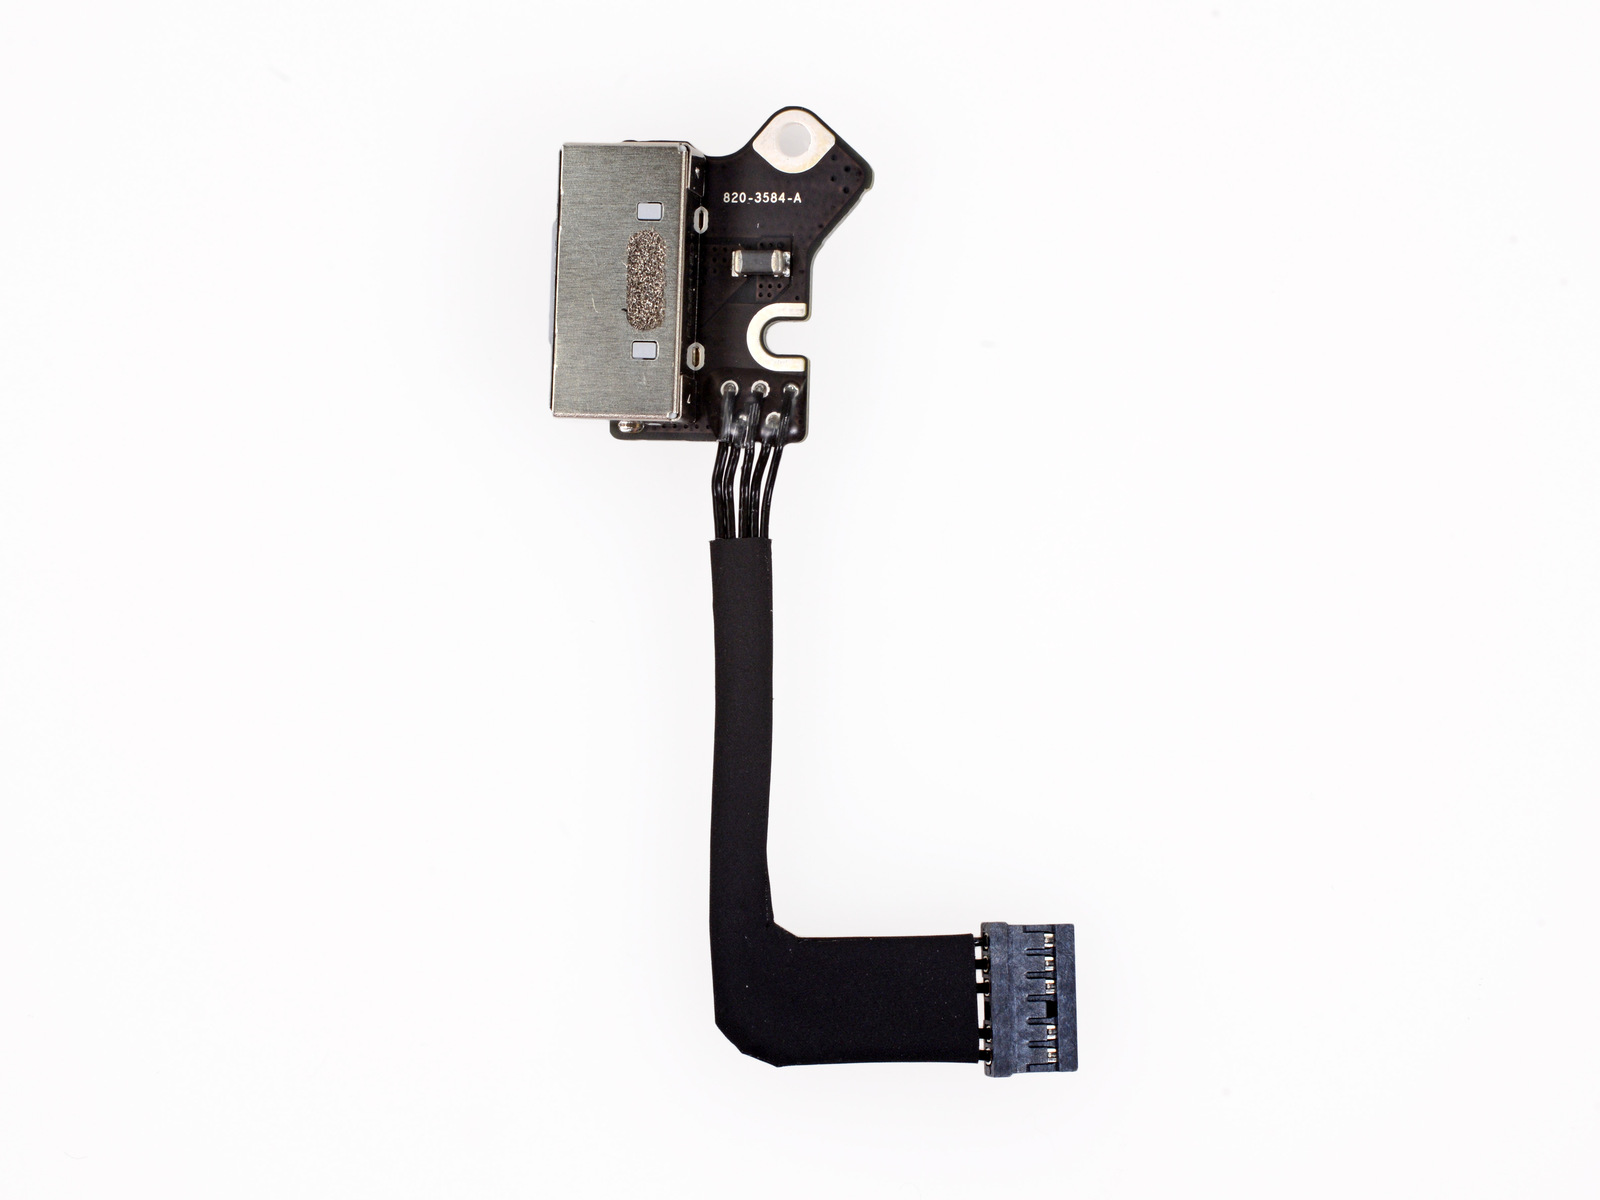
Fortunately, if the MagSafe (power port) breaks, it can be easily replaced as it is not glued / attached to any other parts.
Otherwise, everything is the same: the trackpad controller remains the same (Broadcom BCM5976, same as the iPhone 5) and the display screen / glass continues to be laminated together.
What really changed was the repairability score: if it was 2/10 before, now the 13 ″ MacBook Pro with Retina display received the worst score of all, that is, 1/10.
Here is the complete video of the disassembly process:
· · ·
MaBook Pro with 15 inch Retina display
Now, let's go to the big brother!
As you can and should imagine, the opening process is the same as always.
The 15 ″ model has two fans, as well as the last generation. But one of the good changes that came with the MacBook Air (launched at WWDC 2013) of this new machine is the use of PCIe SSD modules (before they were SATA).
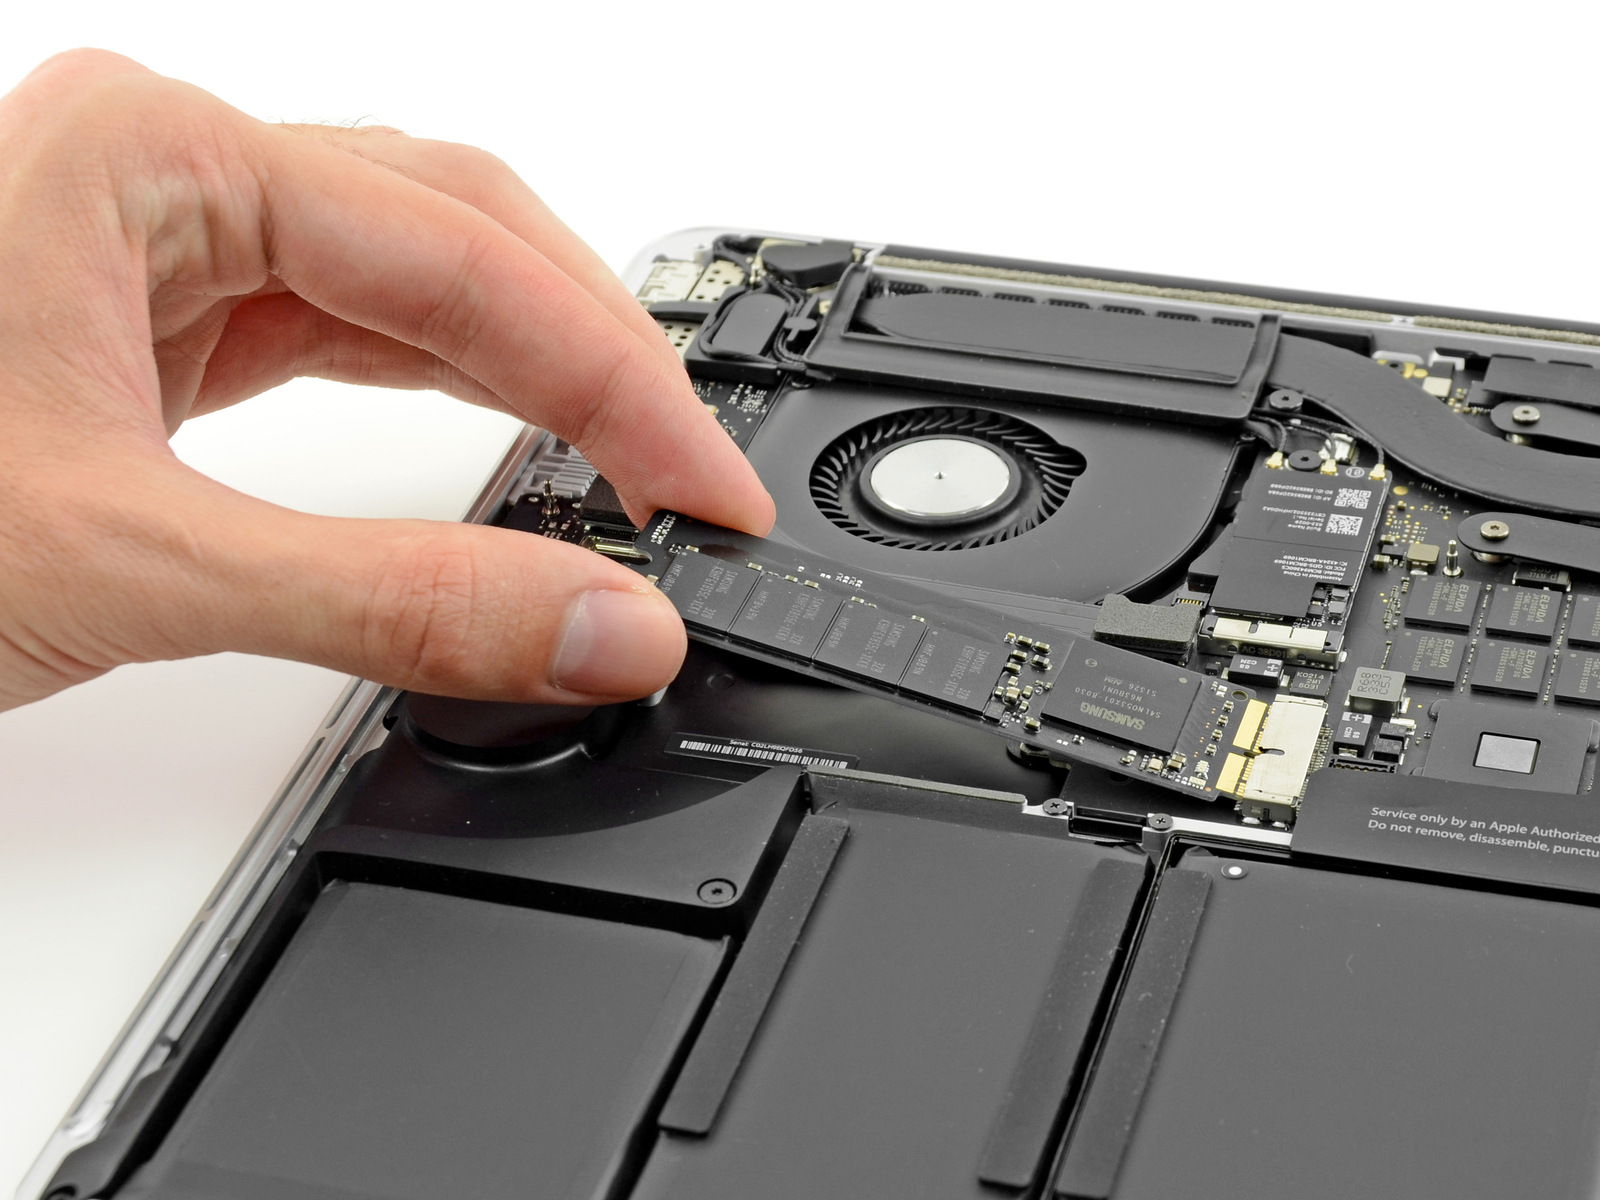
Guess the module maker! Hit who answered Samsung at least on the unit disassembled by iFixit. In this case, we are talking about 8 modules of 32GB NAND Flash (K9HFGY8S5C), totaling 256GB, DRAM (K4P4G324EB-FGC2) of 512MB and a controller for SSDs (S4LNO53X01-8030) all from South Korea.
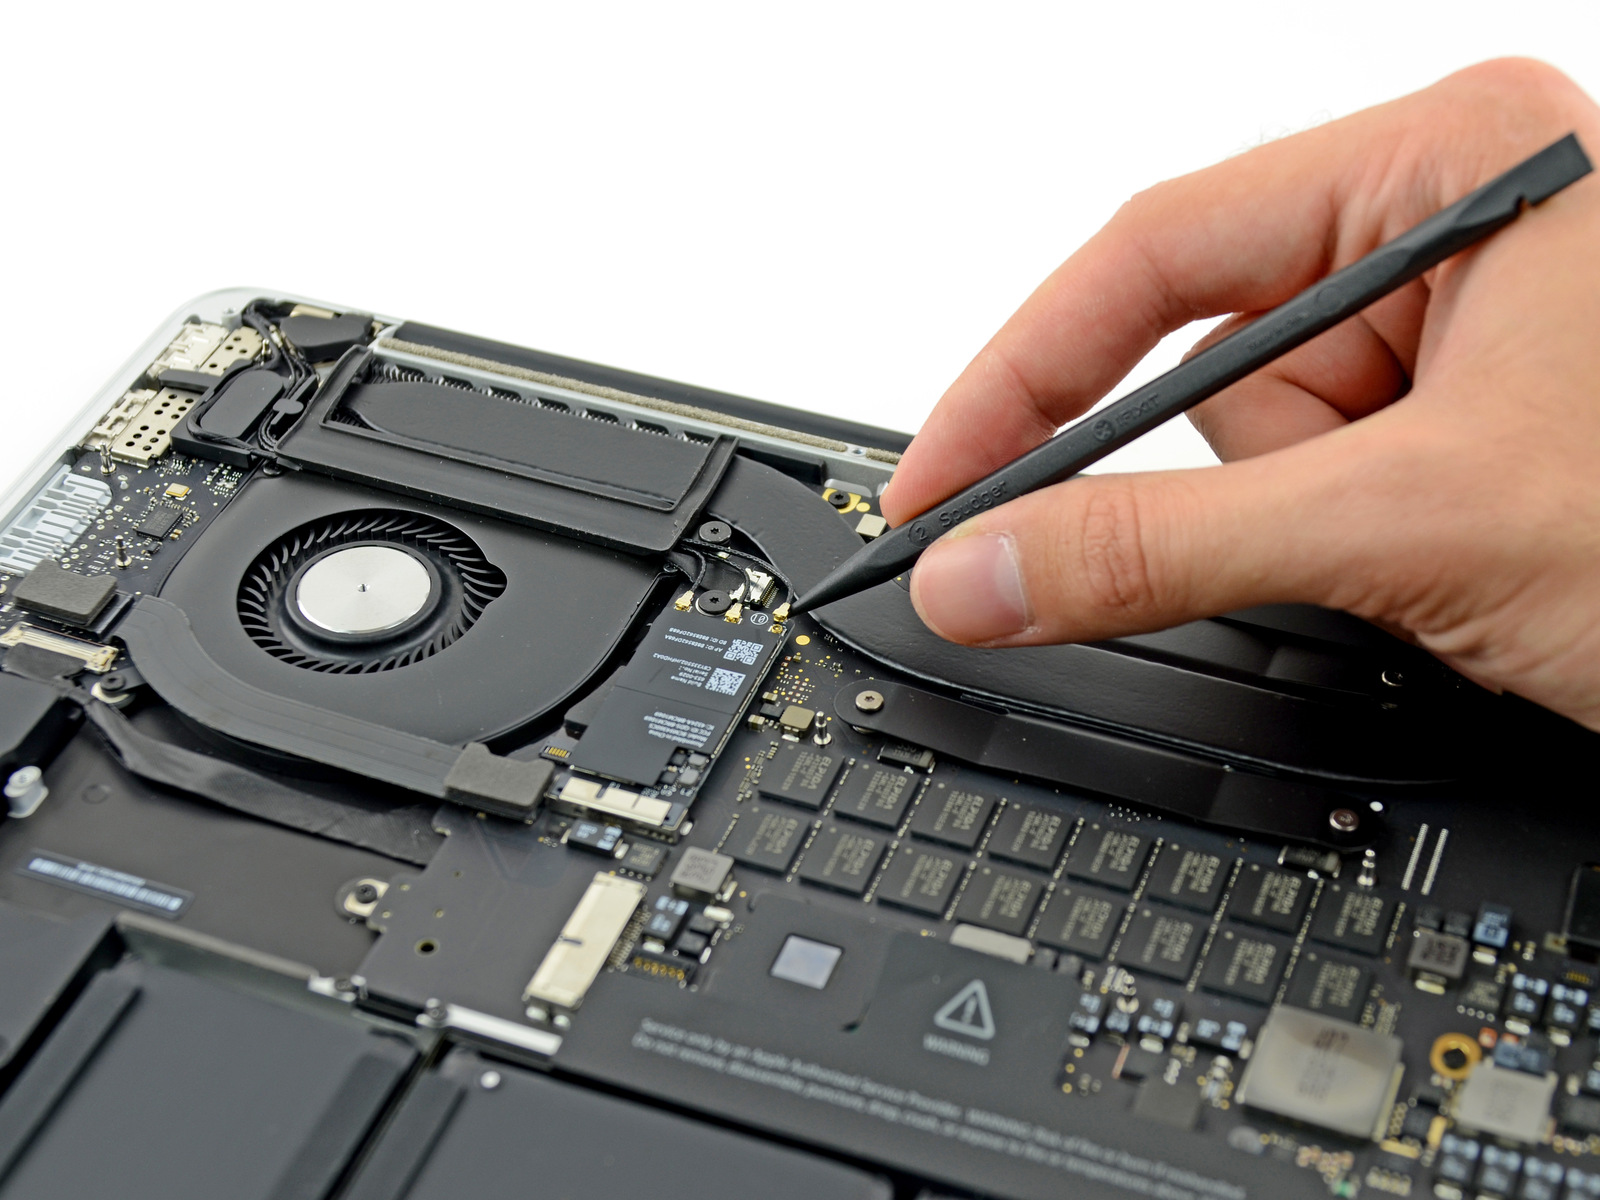
Like the smaller brother, the 15-inch model has an AirPort Broadcom BCM94360CS card which supports the new IEEE 802.11ac protocol (in the 5GHz band its speed reaches an incredible 1.3Gbps). Complete the card: Bluetooth 4.0 chip (BCM20702, also from Broadcom) and Skyworks module (SE5516) dual-band, responsible for 802.11a / b / g / n / ac WLAN connectivity.

Note that the similarities between the 13 ″ and 15 ″ models are great: once again we have a single CPU and GPU heatsink. To give you an idea of how the processor and graphics from Intel evolved, this MacBook Pro has the same battery from the old generation and, even with more processing power, we won another hour to play with the machine in total only up to 9 hours of use.

Here is a nice view of the logic board with the “Haswell” Core i7 processor quad-core 2GHz, Iris Pro graphic, the 8GB of RAM (16 chips of Elpida J4208EFBG of 512MB DDR3 SDRAM, totaling 8GB), the Intel Thunderbolt 2 controller (DSL5520), the hub controller (also from Intel), the codec Cirrus 4208-CRZ audio system, among other things.
A bad news: the headphone jack is now soldered on the board. If by chance this little thing breaks, it has already become the most expensive repair ever made for that part.
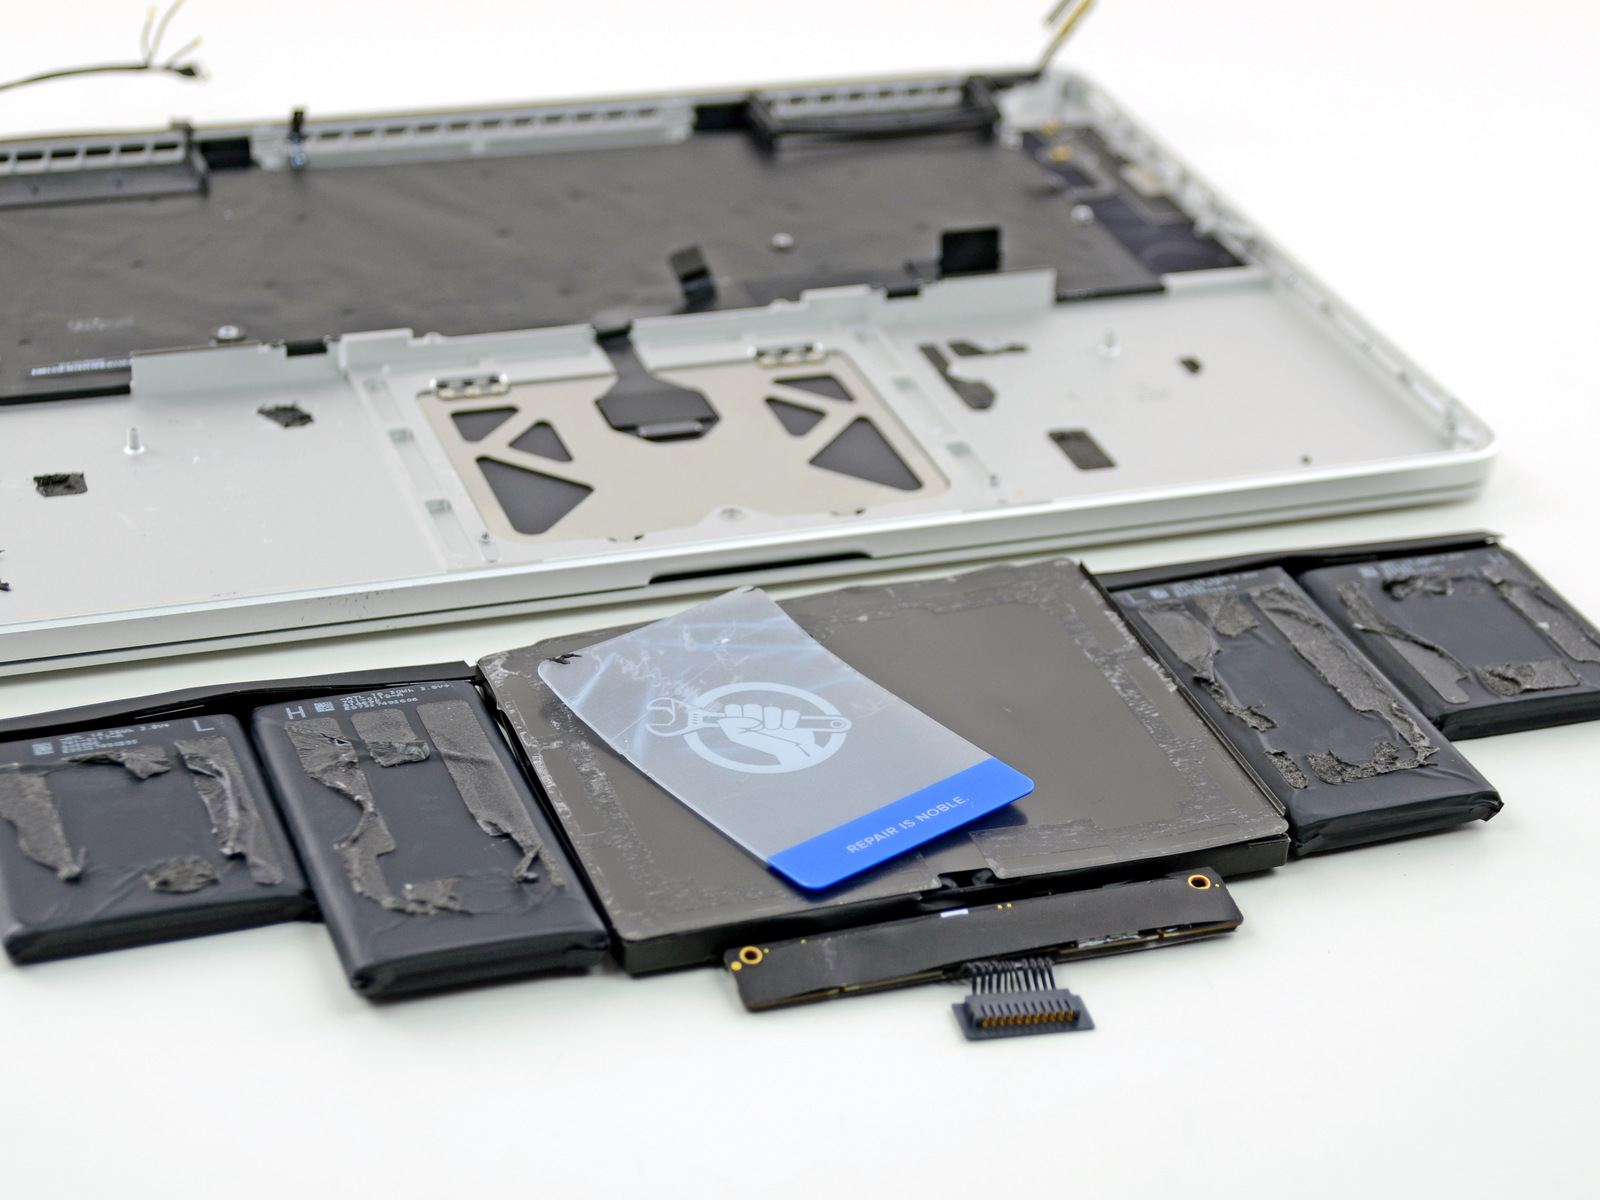
The battery, as always, is very difficult to remove due to the excess of adhesives.
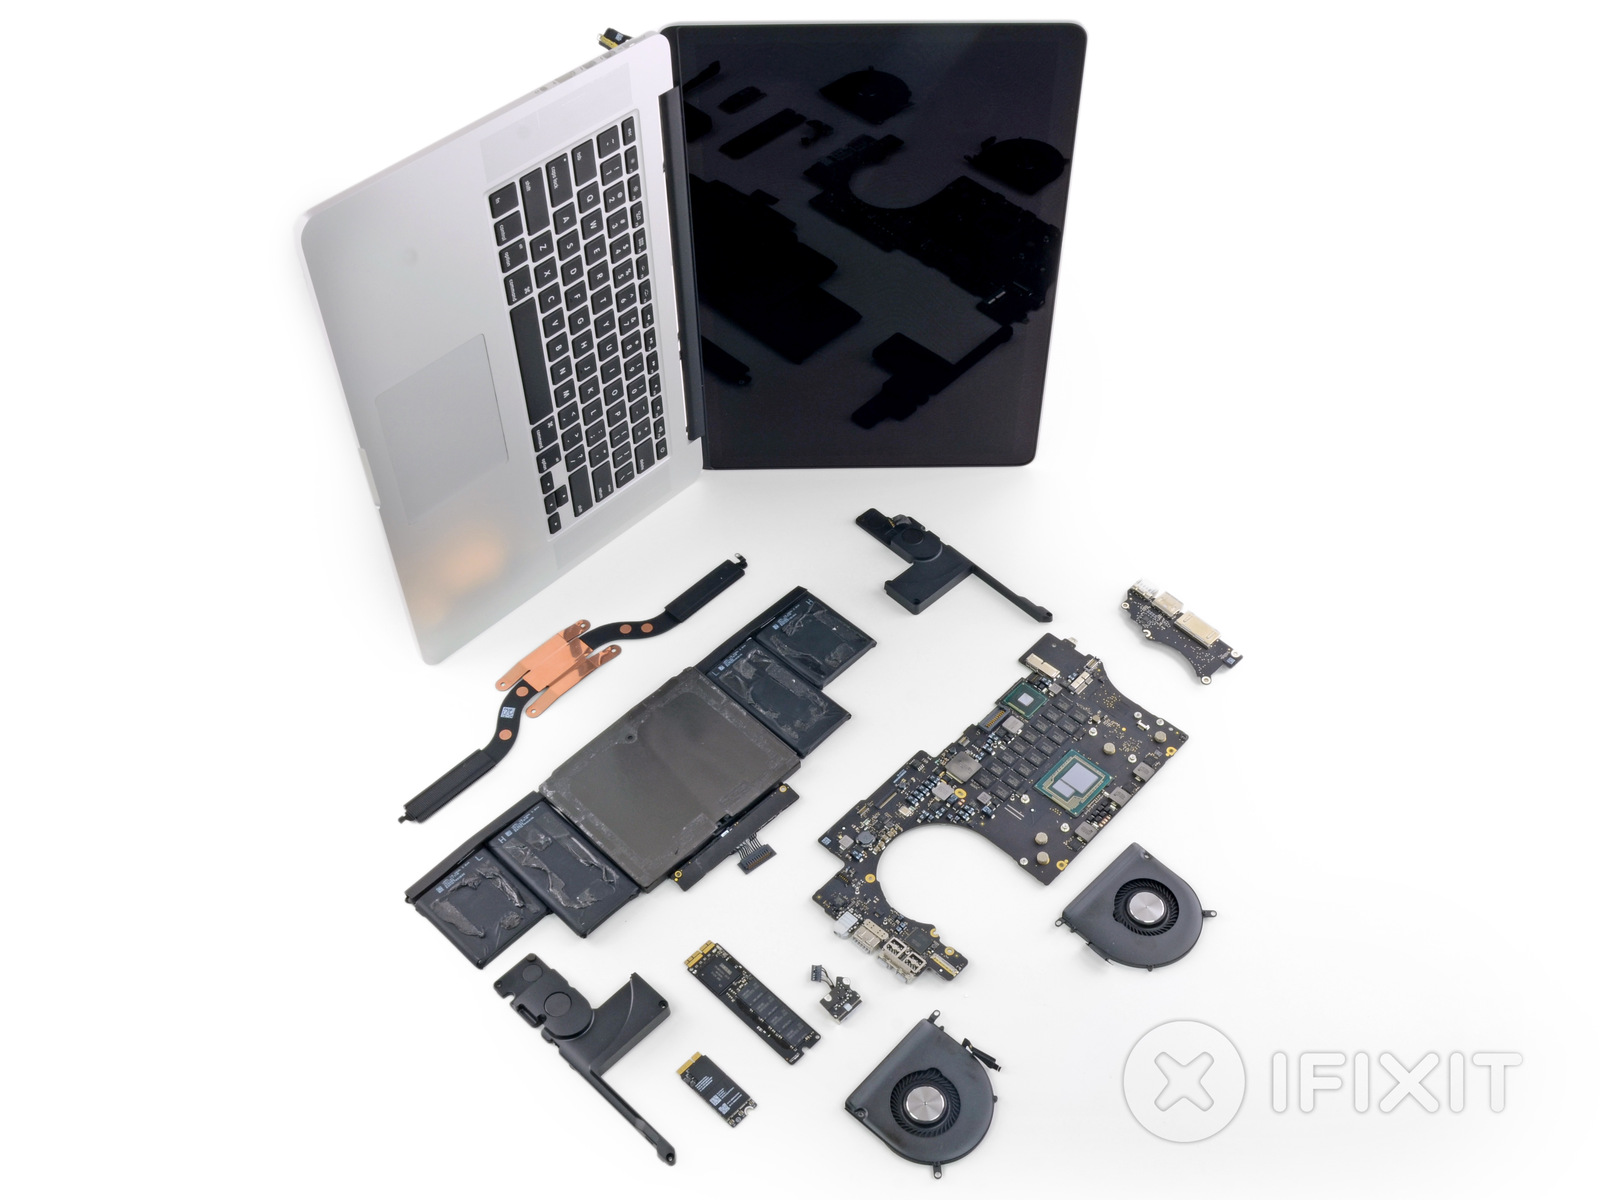
The verdict is the same as the smaller model: grade 1/10 for reparability.
· · ·
And let the iPad Air come next week!
