Here's how to easily install PhotoScape Image Editor on Linux with PlayOnLinux
PhotoScape is an extremely simple, effective and popular image editor available for Windows, it has many users all over the world and has a specific audience that is people who want to do semi-professional image processing without messing with advanced programs like Adobe Photoshop or GIMP, today we will learn how to install it on Linux.

See how to install the popular PhotoScape image editor on Linux
On Linux we have great options when it comes to image editing, you can't talk about it without touching the name of the excellent GIMP, but among us, I recognize the value of an editor like PhotoScape, it's ideal for people with no experience in Image editing, with it you can apply some filters and make small adjustments to make your photos look nicer.
The good thing is that it is free, the bad thing that it has only Windows version, however, the software works extremely well through Play On Linux, a utility for Wine (Program to run Windows applications on Linux), so to It will give you one more option and show the manageability of Linux once again as we have prepared a tutorial so you can install PhotoScape on any Linux distro.
How to install PhotoScape on Linux
First we will need to install the Play On Linux, this program is present in the repositories of most distributions, in the case of Ubuntu (which system I will use in this tutorial) we can install it through the Program Center with a few clicks.
 |
| Click to install Play On Linux on Ubuntu |
The next step is to download PhotoScape, download it directly from the site to avoid offering third party programs (see Baidu and adjacent) to download. click here.
Now open the Play On Linux through your system menu:
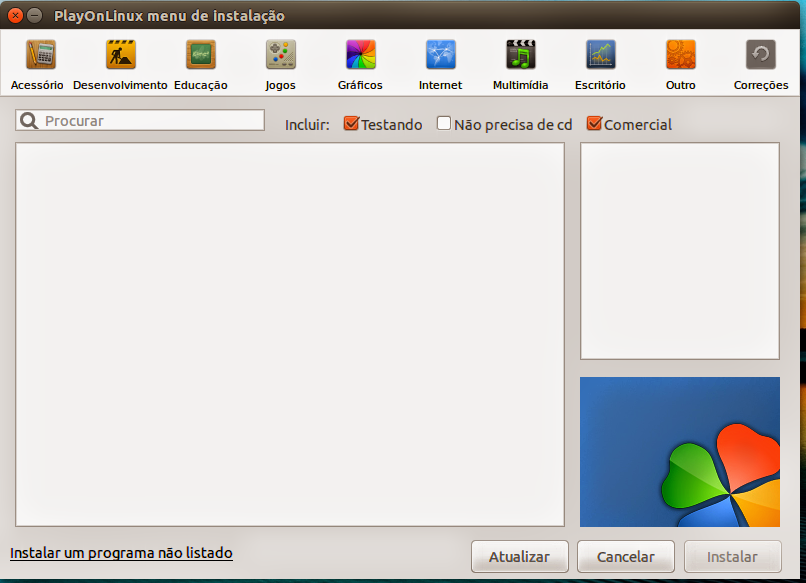
1 – Click on "Install"and at the bottom click "Install a program in the listed"
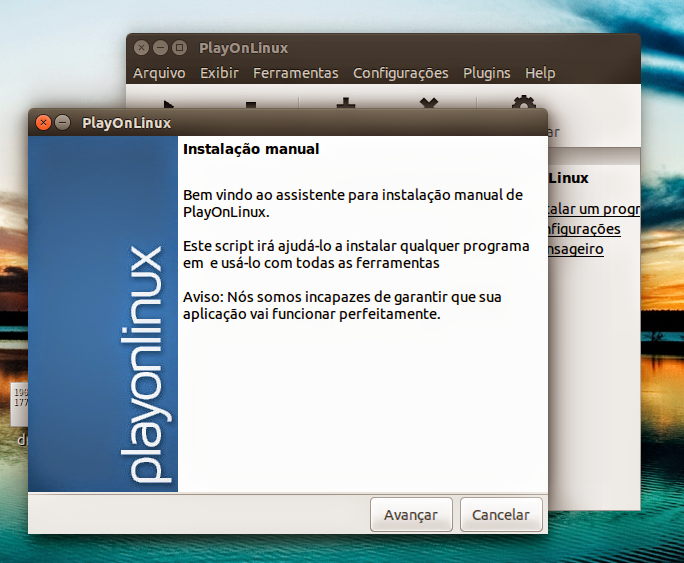
2 – In the next screen, click "Advance"
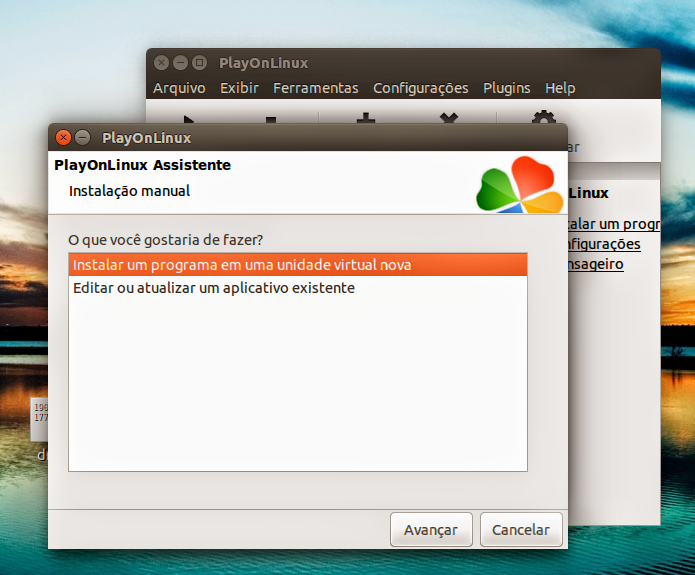
3 – In the next step select the option "Install a program on a new virtual drive"and then click"Advance"
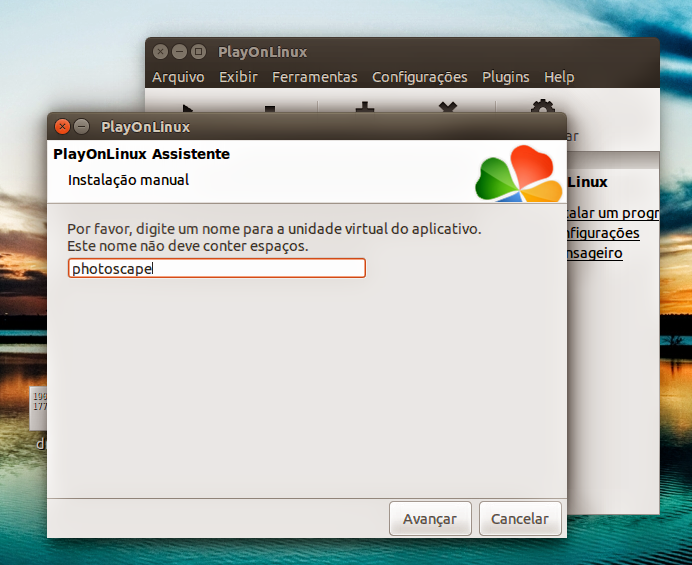
4 – In the next step you can give the name you want the installation, for the sake of organization I always put the name of the program I am installing so my suggestion to put "photoscape"done that click on"Advance" again.
5 – In the next screen you do not need to configure anything just click "Advance" once again.
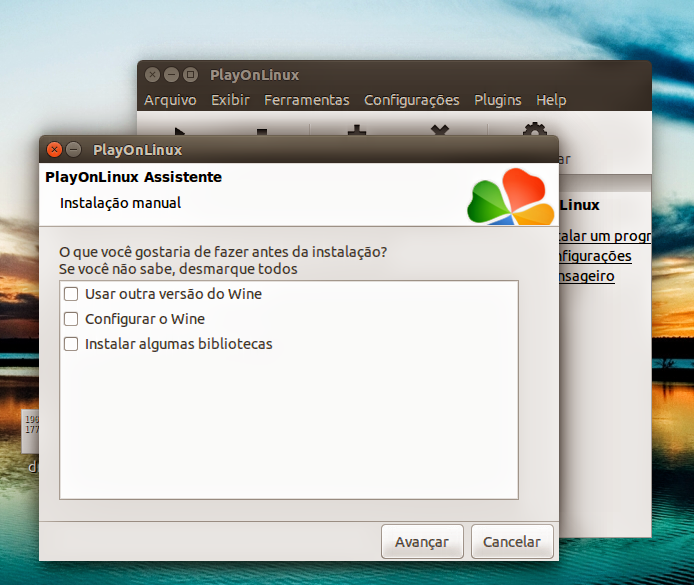
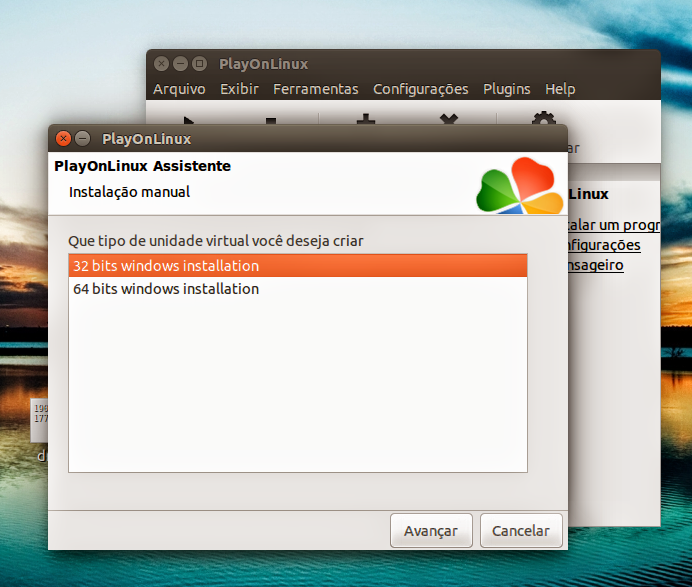
6 – In the next screen select the 32-bit installation and click once more on "Advance"
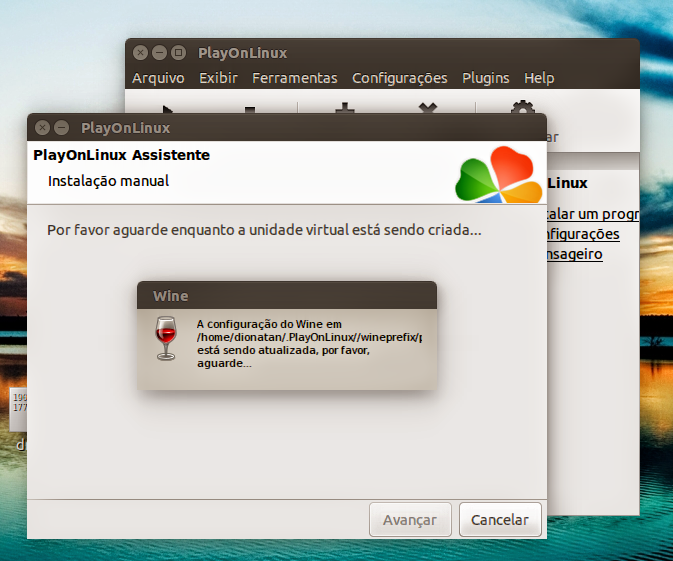
7 – Wait while Wine is configured
8 – Click on the button "To browse"and select the PhotoScape installer, after that click"Advance"

9 – In this step the PhotoScape installer will open and you should install it exactly as you would on Windows, giving Next and selecting the options you find convenient.
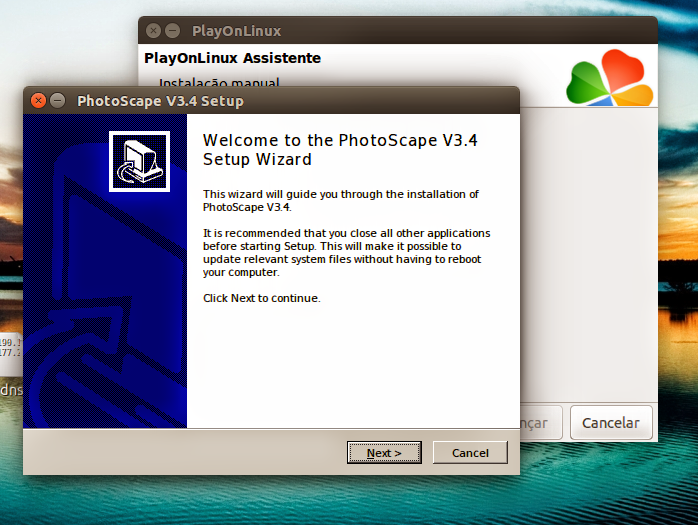
10 – Once the installation is complete Play On Linux will suggest that you create shortcuts to the application on the desktop and on Play On Linux itself, you can choose the options you want.
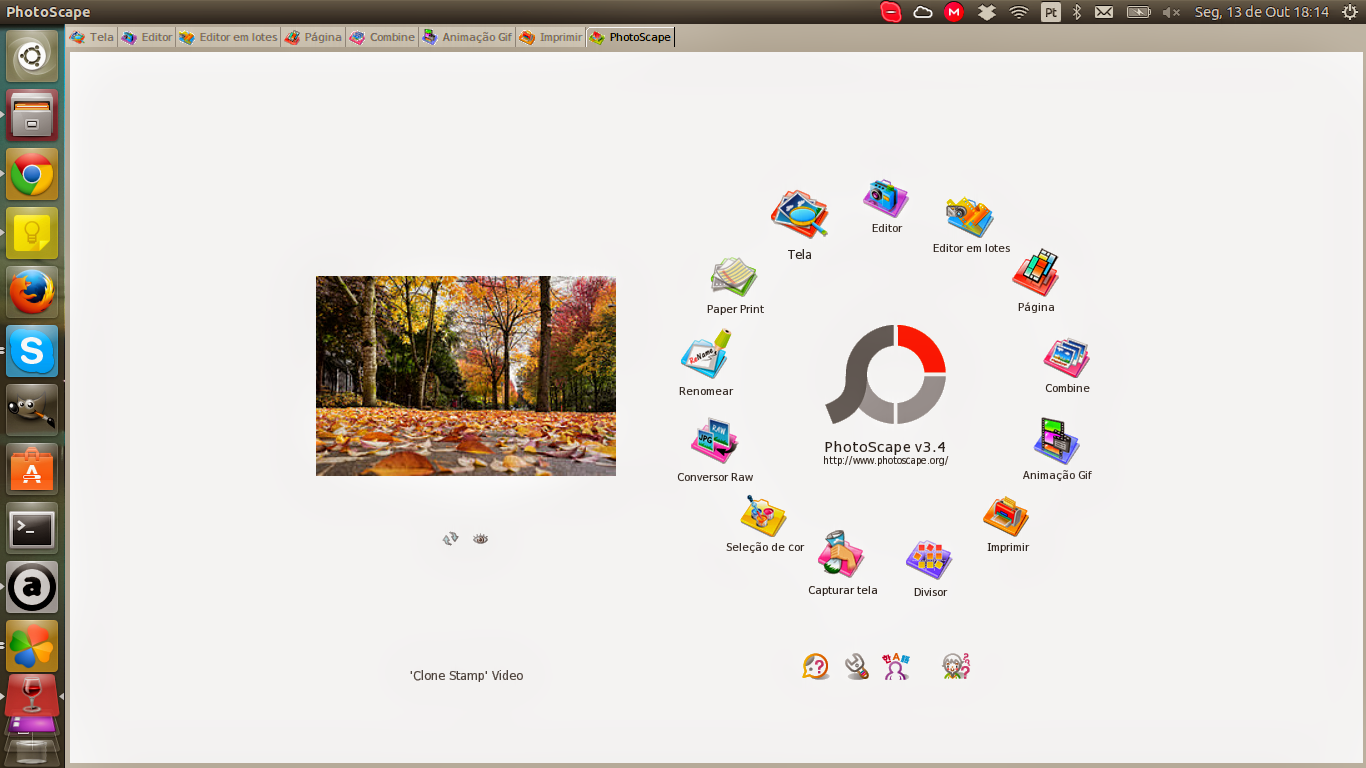
And the app is running with all its tools on Ubuntu 14.04 LTS.
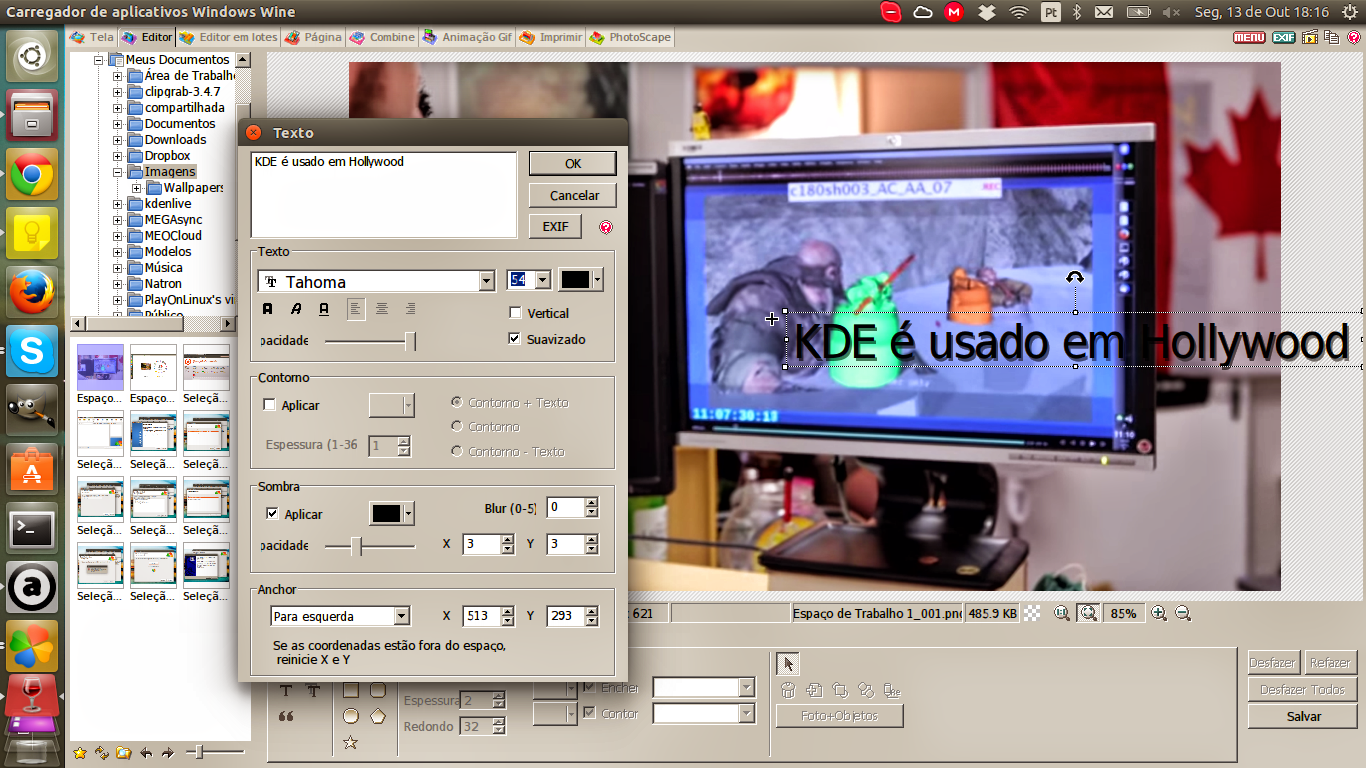
From now on whenever you want to use PhotoScape just open Play On Linux, select the application and click "Play" or "Run".
If you have any questions we have prepared a video explaining all the details of using PlayOnLinux, Click here to access the video on our channel.
From the tests I performed, despite the "Windows XP" look and feel the software works perfectly, all the quick effects and tweaks that are its best features are all working without bugs.
See you next time!
_____________________________________________________________________________ See any errors or would you like to add any suggestions to this article? Collaborate, click here.
