The iPhone and iPad comes standard with a great free app for editing home videos, called iMovie. It is great for editing videos that you record on your phone, cutting out what doesn’t matter and adding text, music and effects to make it more fun to watch.
But those who have tried it, realized that it does not support video editing recorded with the device vertically, cutting the top and bottom of the image.
Fortunately there is a way to edit a vertical video in iOS iMovie, in case you ever need to do that.
Yes, I already know what many will say: “Blasphemy, videos are never recorded vertically!“,“This is a beginner thing!“,“Where have you ever seen such a thing!“,“Oh, my salts!“. However, as much as William Bonner warns to always shoot horizontally, there are many cases of people who, in a hurry or distraction, end up recording with the iPhone standing.
It is much more common than many imagine and it was often the record of a unique moment, which never comes back and it is not possible to redo it. In these cases, there is nothing to do, you need to keep the video vertically.
The problem is that if you need to edit some parts of this video (remove some long, embarrassing or even unnecessary snippets, in addition to including a music track), iOS iMovie will crop the image, leaving it square, with black side edges. He seems to strive to penalize you for recording vertically.
Despite this, don’t blame yourself. Below, we’ll see how to get around this.
Editing in iOS iMovie
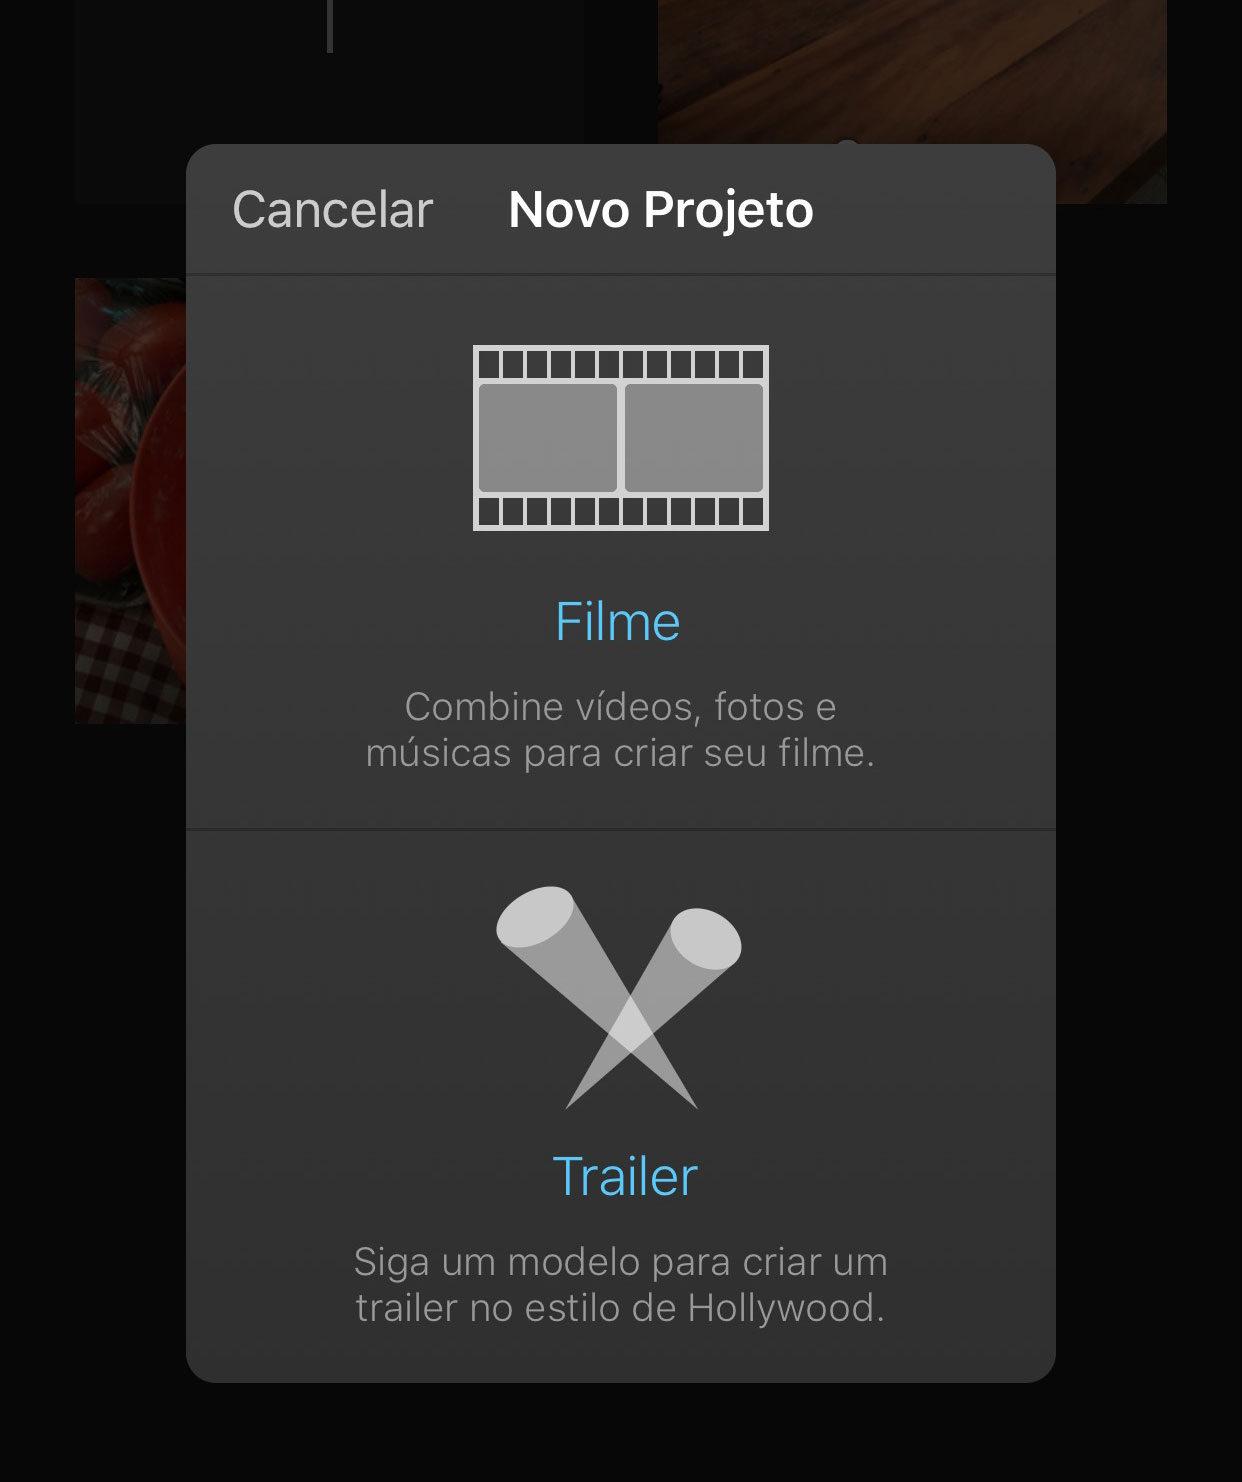
Open the iMovie app on your iPhone or iPad, start a New Project ›Film and import the vertical video you want to edit (or the various ones that exist).


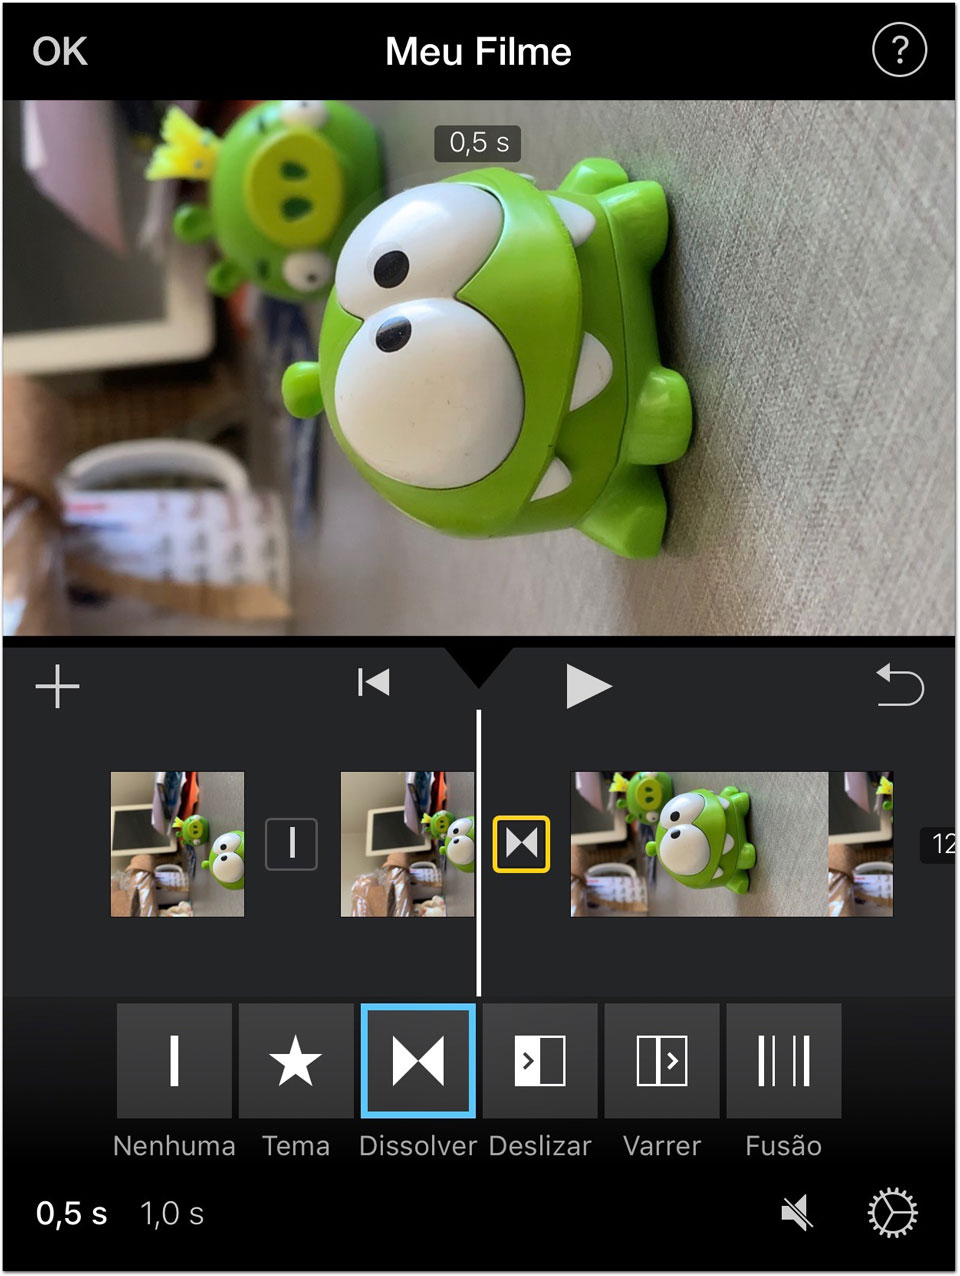
You will notice that it will appear as a square, with parts of the image cut off. You will have to rotate it to be able to edit without these cuts. This is relatively easy and you can do it with your fingertips by rotating the video on the screen in the direction you want, within iMovie itself.

He’ll lie down and that’s it. That done, you can now cut and edit parts of the video, include effects and transitions, without losing any part of the image.

When you finish editing, your video is ready to be recorded. However, there is a problem: the video is “lying down” and it is very likely that you want to rotate it back to its initial shape so that it can be viewed in the normal way. If you do this inside iMovie (using your fingertips as in the initial tip), it will end the video by cutting off the top and bottom, and you don’t want that. So, we will have to record it “lying down” and rotate it after, with another application.
Touch OK in the top left field of the screen, and in the sharing menu, touch the “Save video“. It will then be on your Camera Roll.

IOS does not have a native feature to rotate videos (as it does with photos, for example). Then, you will be forced to download an application that rotates the video you made, so that the viewing will be normal on the iPhone. Among the existing ones, we advise the RFV. [link App Store]
It is free and despite having some advertising banners, it does its job well. It rotates videos and is great for when you want to arrange videos vertically. In this case, we will transform your film horizontally to vertical.
Open the edited video in the RFV and rotate it for normal viewing. Save the video.

Okay, your vertical video was edited in iMovie, without you having to buy any extra apps for that. ?
Alternative Edition
There is also another way to edit vertical videos in iMovie, in a way that is in a format that would normally play on a TV, without cutting parts.
With iMovie, you can frame the entire height of the vertical video, leaving black parts on the sides. As in the previous instructions, open the application on your iPhone or iPad, start a New Project ›Film and import the vertical video you want to edit.
If you’ve done everything right, you’ll see your vertical video, in square format with parts of the cropped image. This time, don’t rotate it.
Select the clip on the timeline and you will see that a magnifying glass will appear on the side of the image. It allows you to zoom out with your fingers and frame the entire height of the video in the frame.


Thus, you will have a video in the standard horizontal format, showing the image without cuts, but with the sides in black. This is another way to edit vertical videos without losing anything.
Did you like the tip? There are several others that improve your experience with iPhone and iPad at this link. If you know of other better ways to edit videos vertically, share them here in the comments. ?
