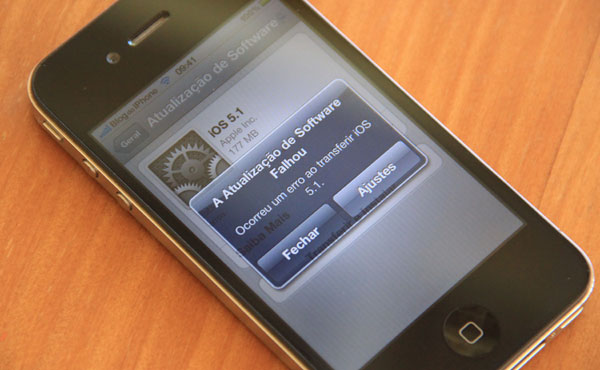
Many readers are having trouble trying to update iOS in iTunes or directly on their iPhones or iPads. But what at first seemed like a problem with Apple’s servers, actually may be the fault of your Brazilian internet provider. If so, here’s how to fix it.
According to our reader Marcelo Hallais, some famous providers here in Brazil (like NET and TVA) block Apple’s servers due to the great demand in times of update. This is illegal and, if you ask, they will deny it to the death, but the fact is that, changing the DNS configuration, the download happens without any problem. This is a fact.
So, learn now how to change your DNS on your iPhone, iPad or computer, allowing anyone to do it. We will use the free OpenDNS service as an example, as Google’s has not worked well in some cases.
This manipulation has no cost and does not harm your Wi-Fi network in which you are used to connect. It can, in some cases, even improve your connection.
Changing DNS on iPhone, iPod or iPad
Follow the step by step to change the DNS on your device:
Step 1: Open the app Settings, in the menu Wi-Fi.

Step 2: Choose your network and tap the blue button with the arrow.

Step 3: You will see the DNS field, with some numbers already present. Touch it and delete it (if you want to be sure, copy and paste it into the Notes app, for security).

Write the following numbers, related to OpenDNS, as they appear here:
208.67.222.222, 208.67.220.220
Step 4: Touch the “Wi-Fi networks” button on the top bar to return to the list of networks. Your device should then connect with the new settings.

Ready. Try again to update the system and it will probably not have any more problems. ?
